Smokey Chicken Spice Rub (paleo & gluten free)

Smokey Chicken Rub

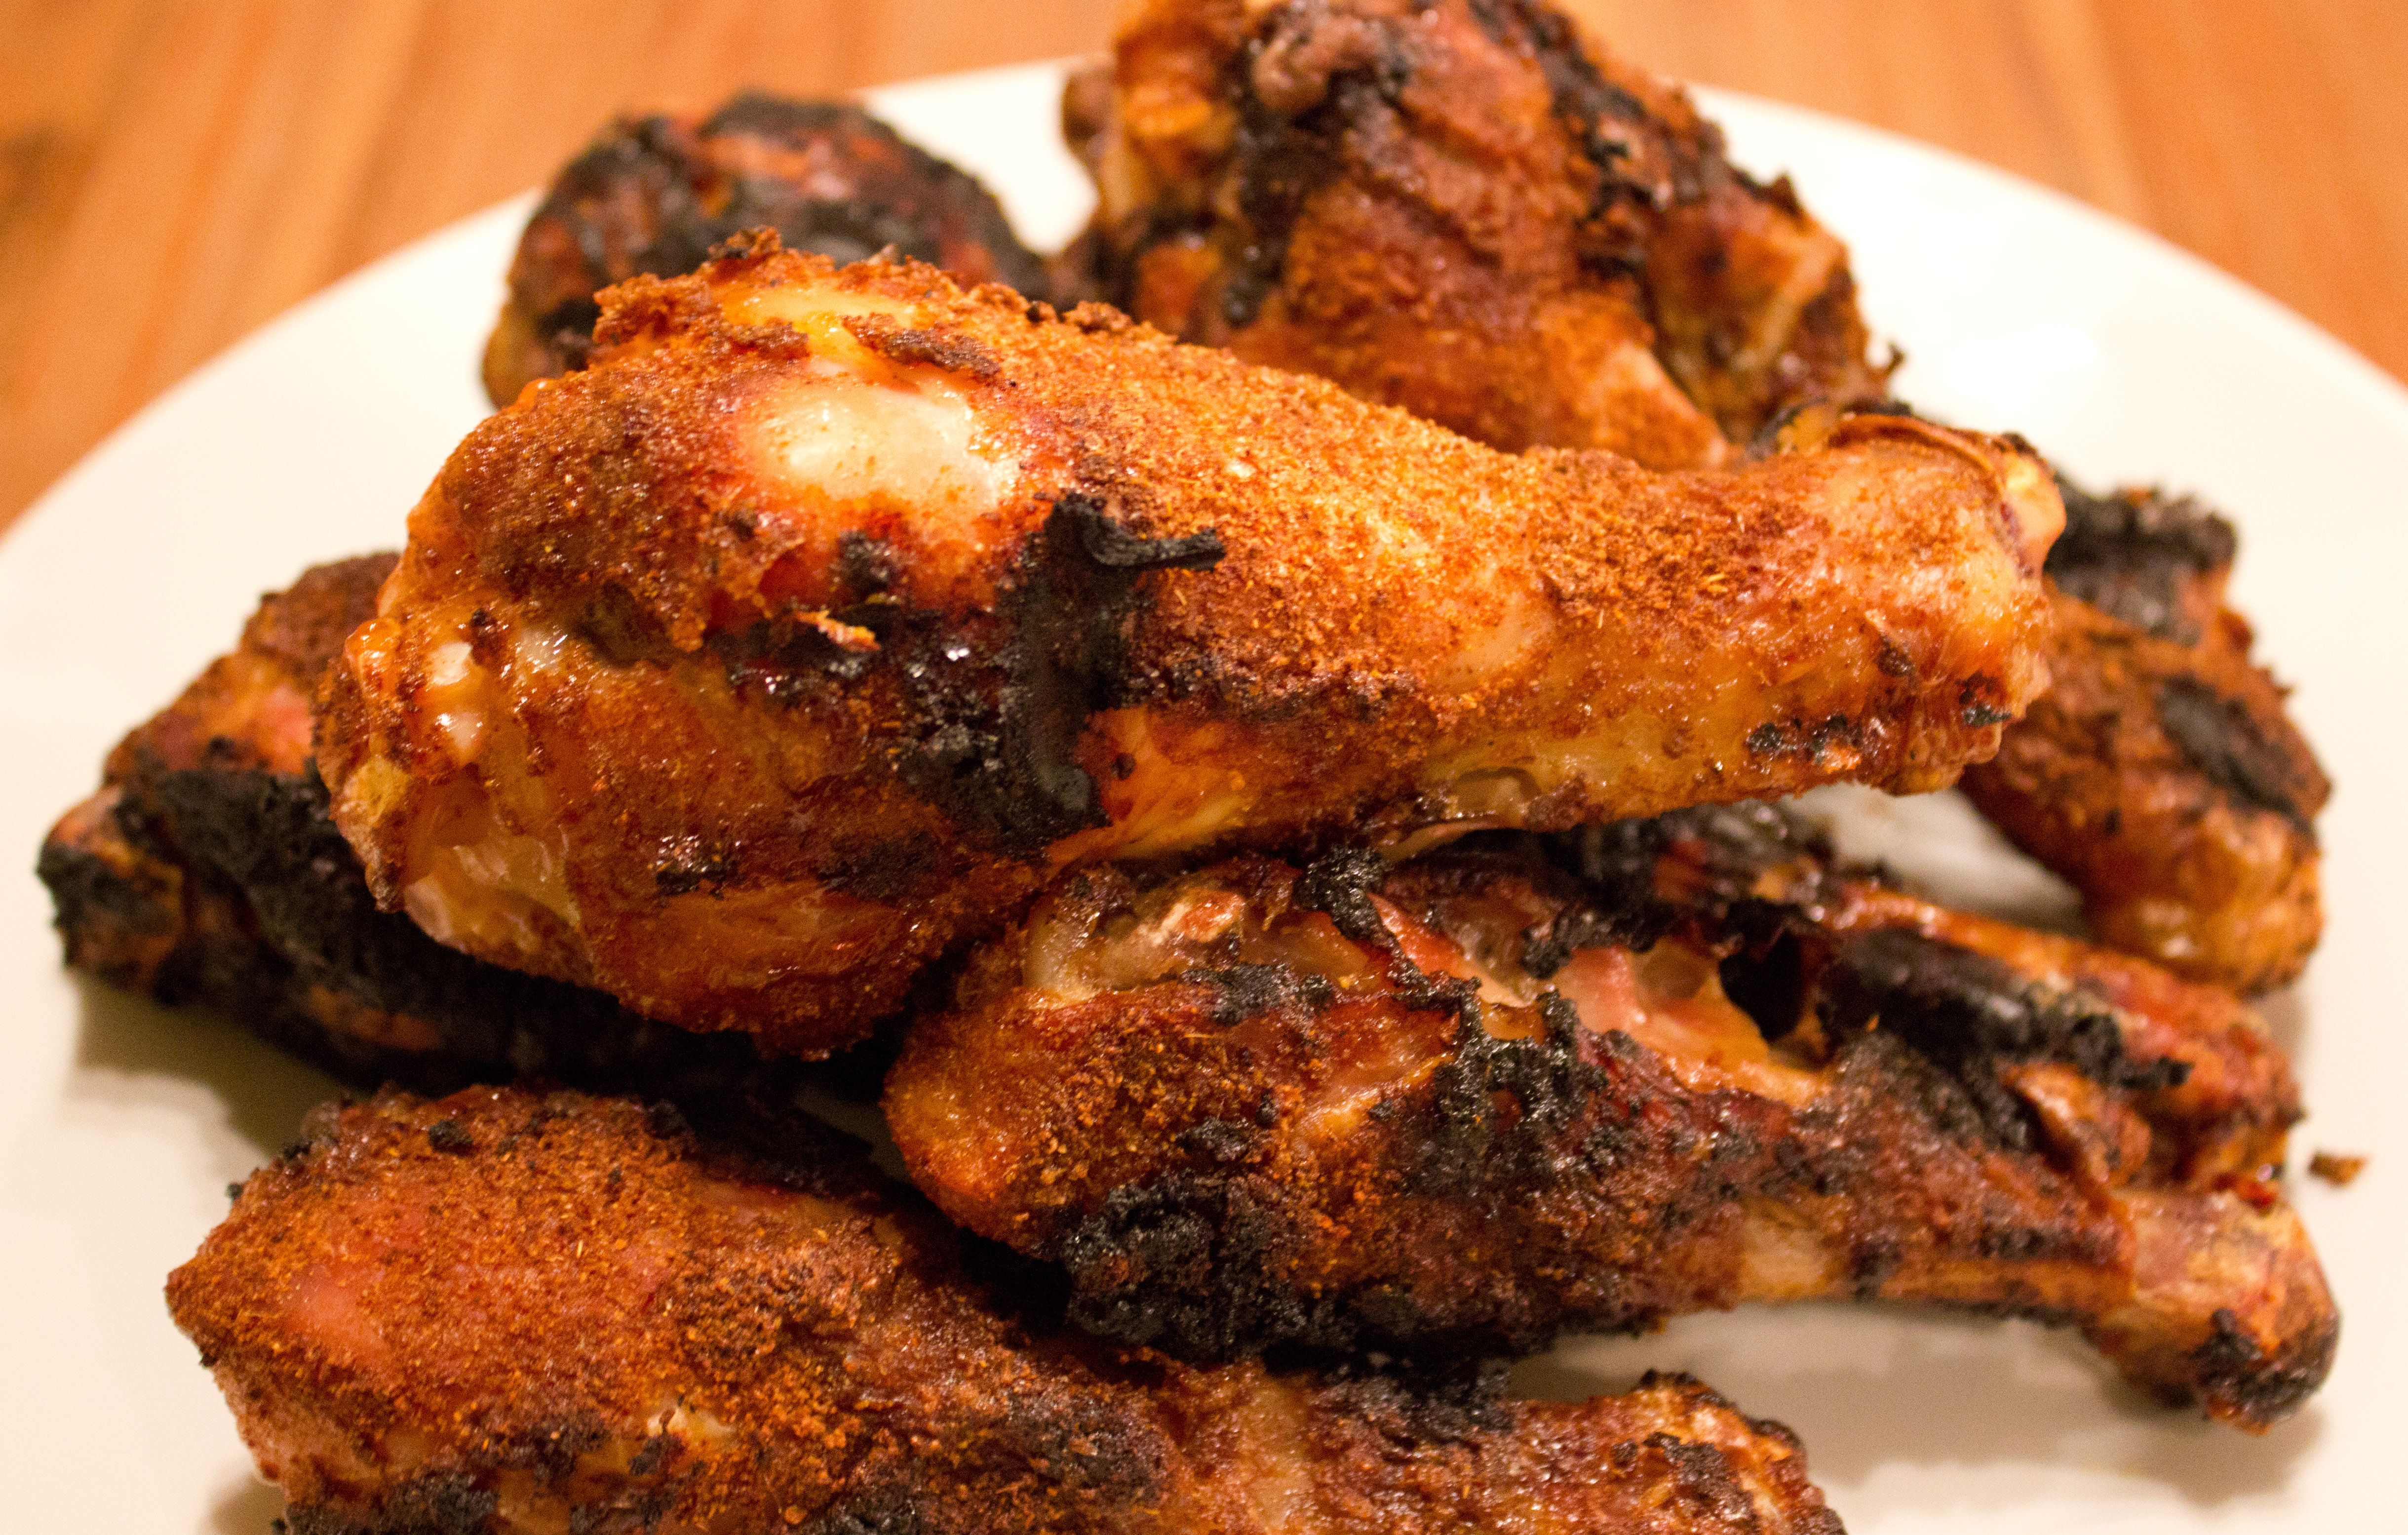
It was a Thursday night, we had just returned home from gymnastics class and I had to make dinner pronto!  I had taken some chicken legs out of the freezer that morning to let them defrost so I went digging through the spice cabinet for a spice rub to coat them with.  I found a smokey bbq rub that the hubs had picked up but when I checked the ingredients it wasn’t gluten free.  After getting really annoyed and hollering about why there doesn’t need to be gluten in a spice rub, I decided to make my own.  I got all of the spices out and went to work!  The idea of smokey and sweet flavors sounded really good and that’s what I was aiming for.  I also didn’t want it to be too spicy or overpowering because of the kiddos.

Grilling up dinner makes life so much easier for me especially since right now we have extracurricular activities scheduled pretty much every day .  Between school, homework, and all the sports and things it can be difficult to squeeze some time in to put together a healthy meal  .When we grill, I can prepare the meat ahead of time which is great and who doesn’t like bbq? If we’re grilling chicken, I prefer legs since they tend to be more tender. They take 45 minutes to an hour on the grill though, so if we are having them on a weeknight I have to be sure to get them on the grill by 5:30pm.  Need to make sure the little ones have dinner on time!

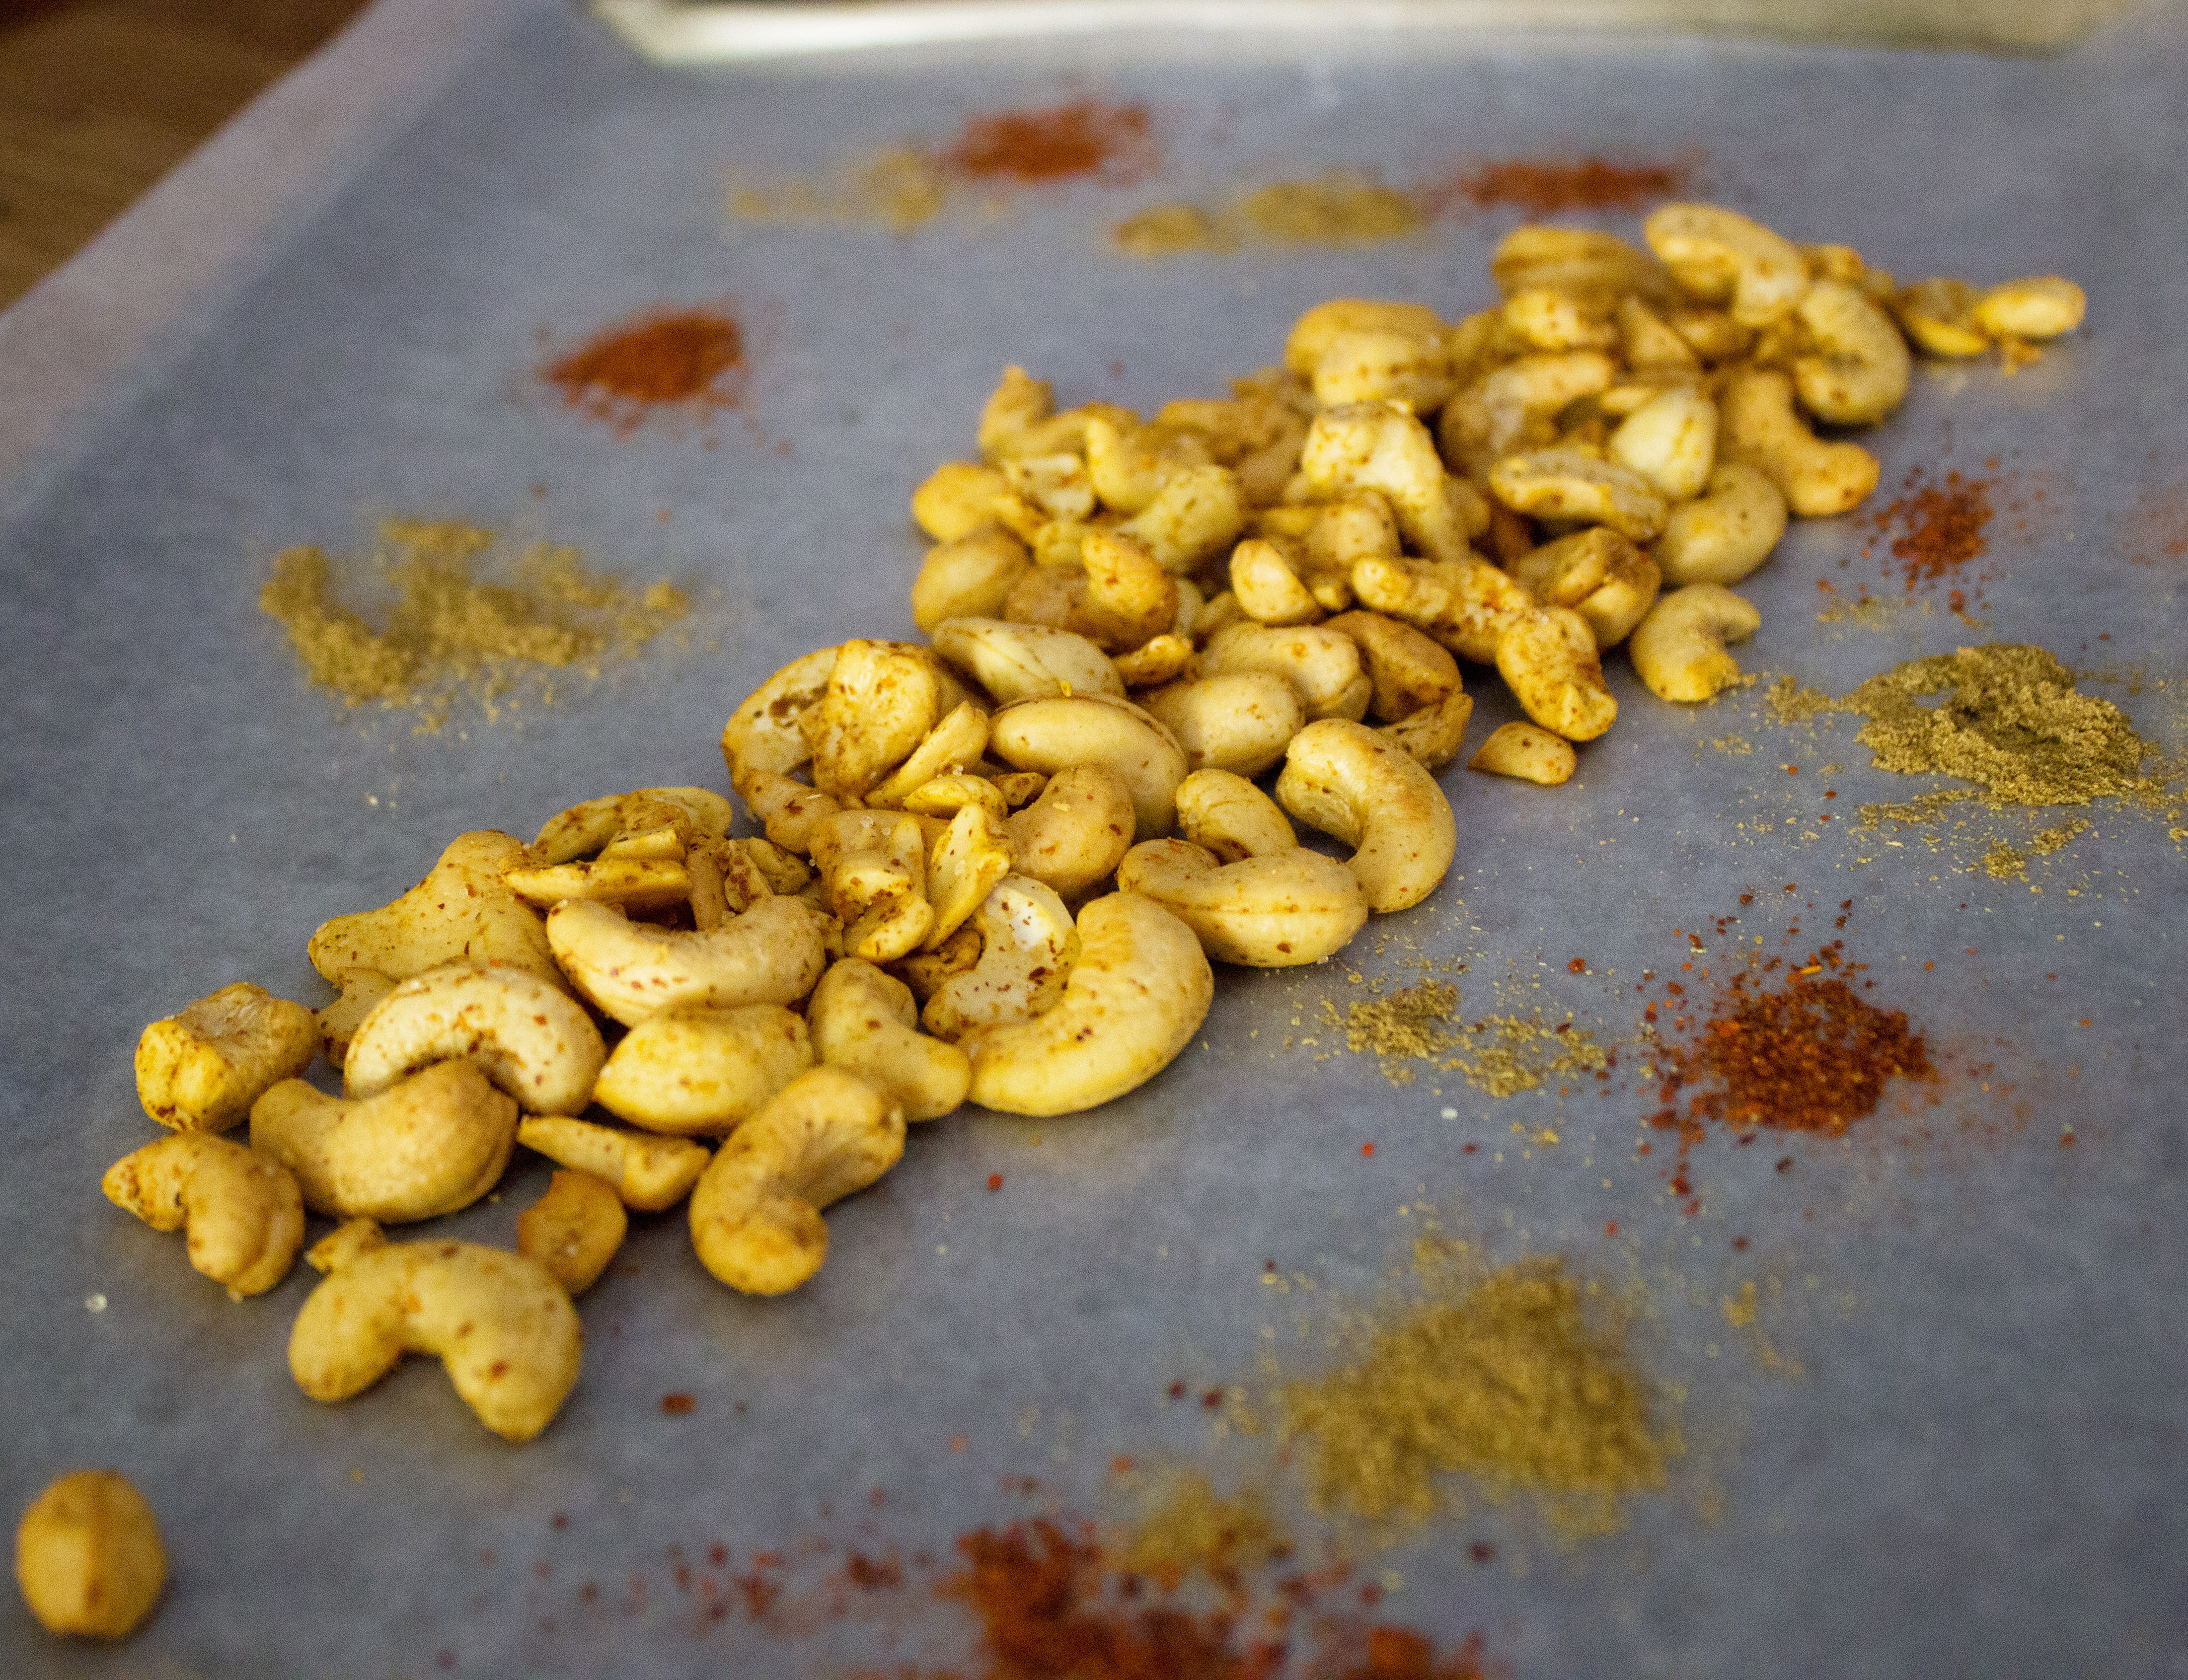
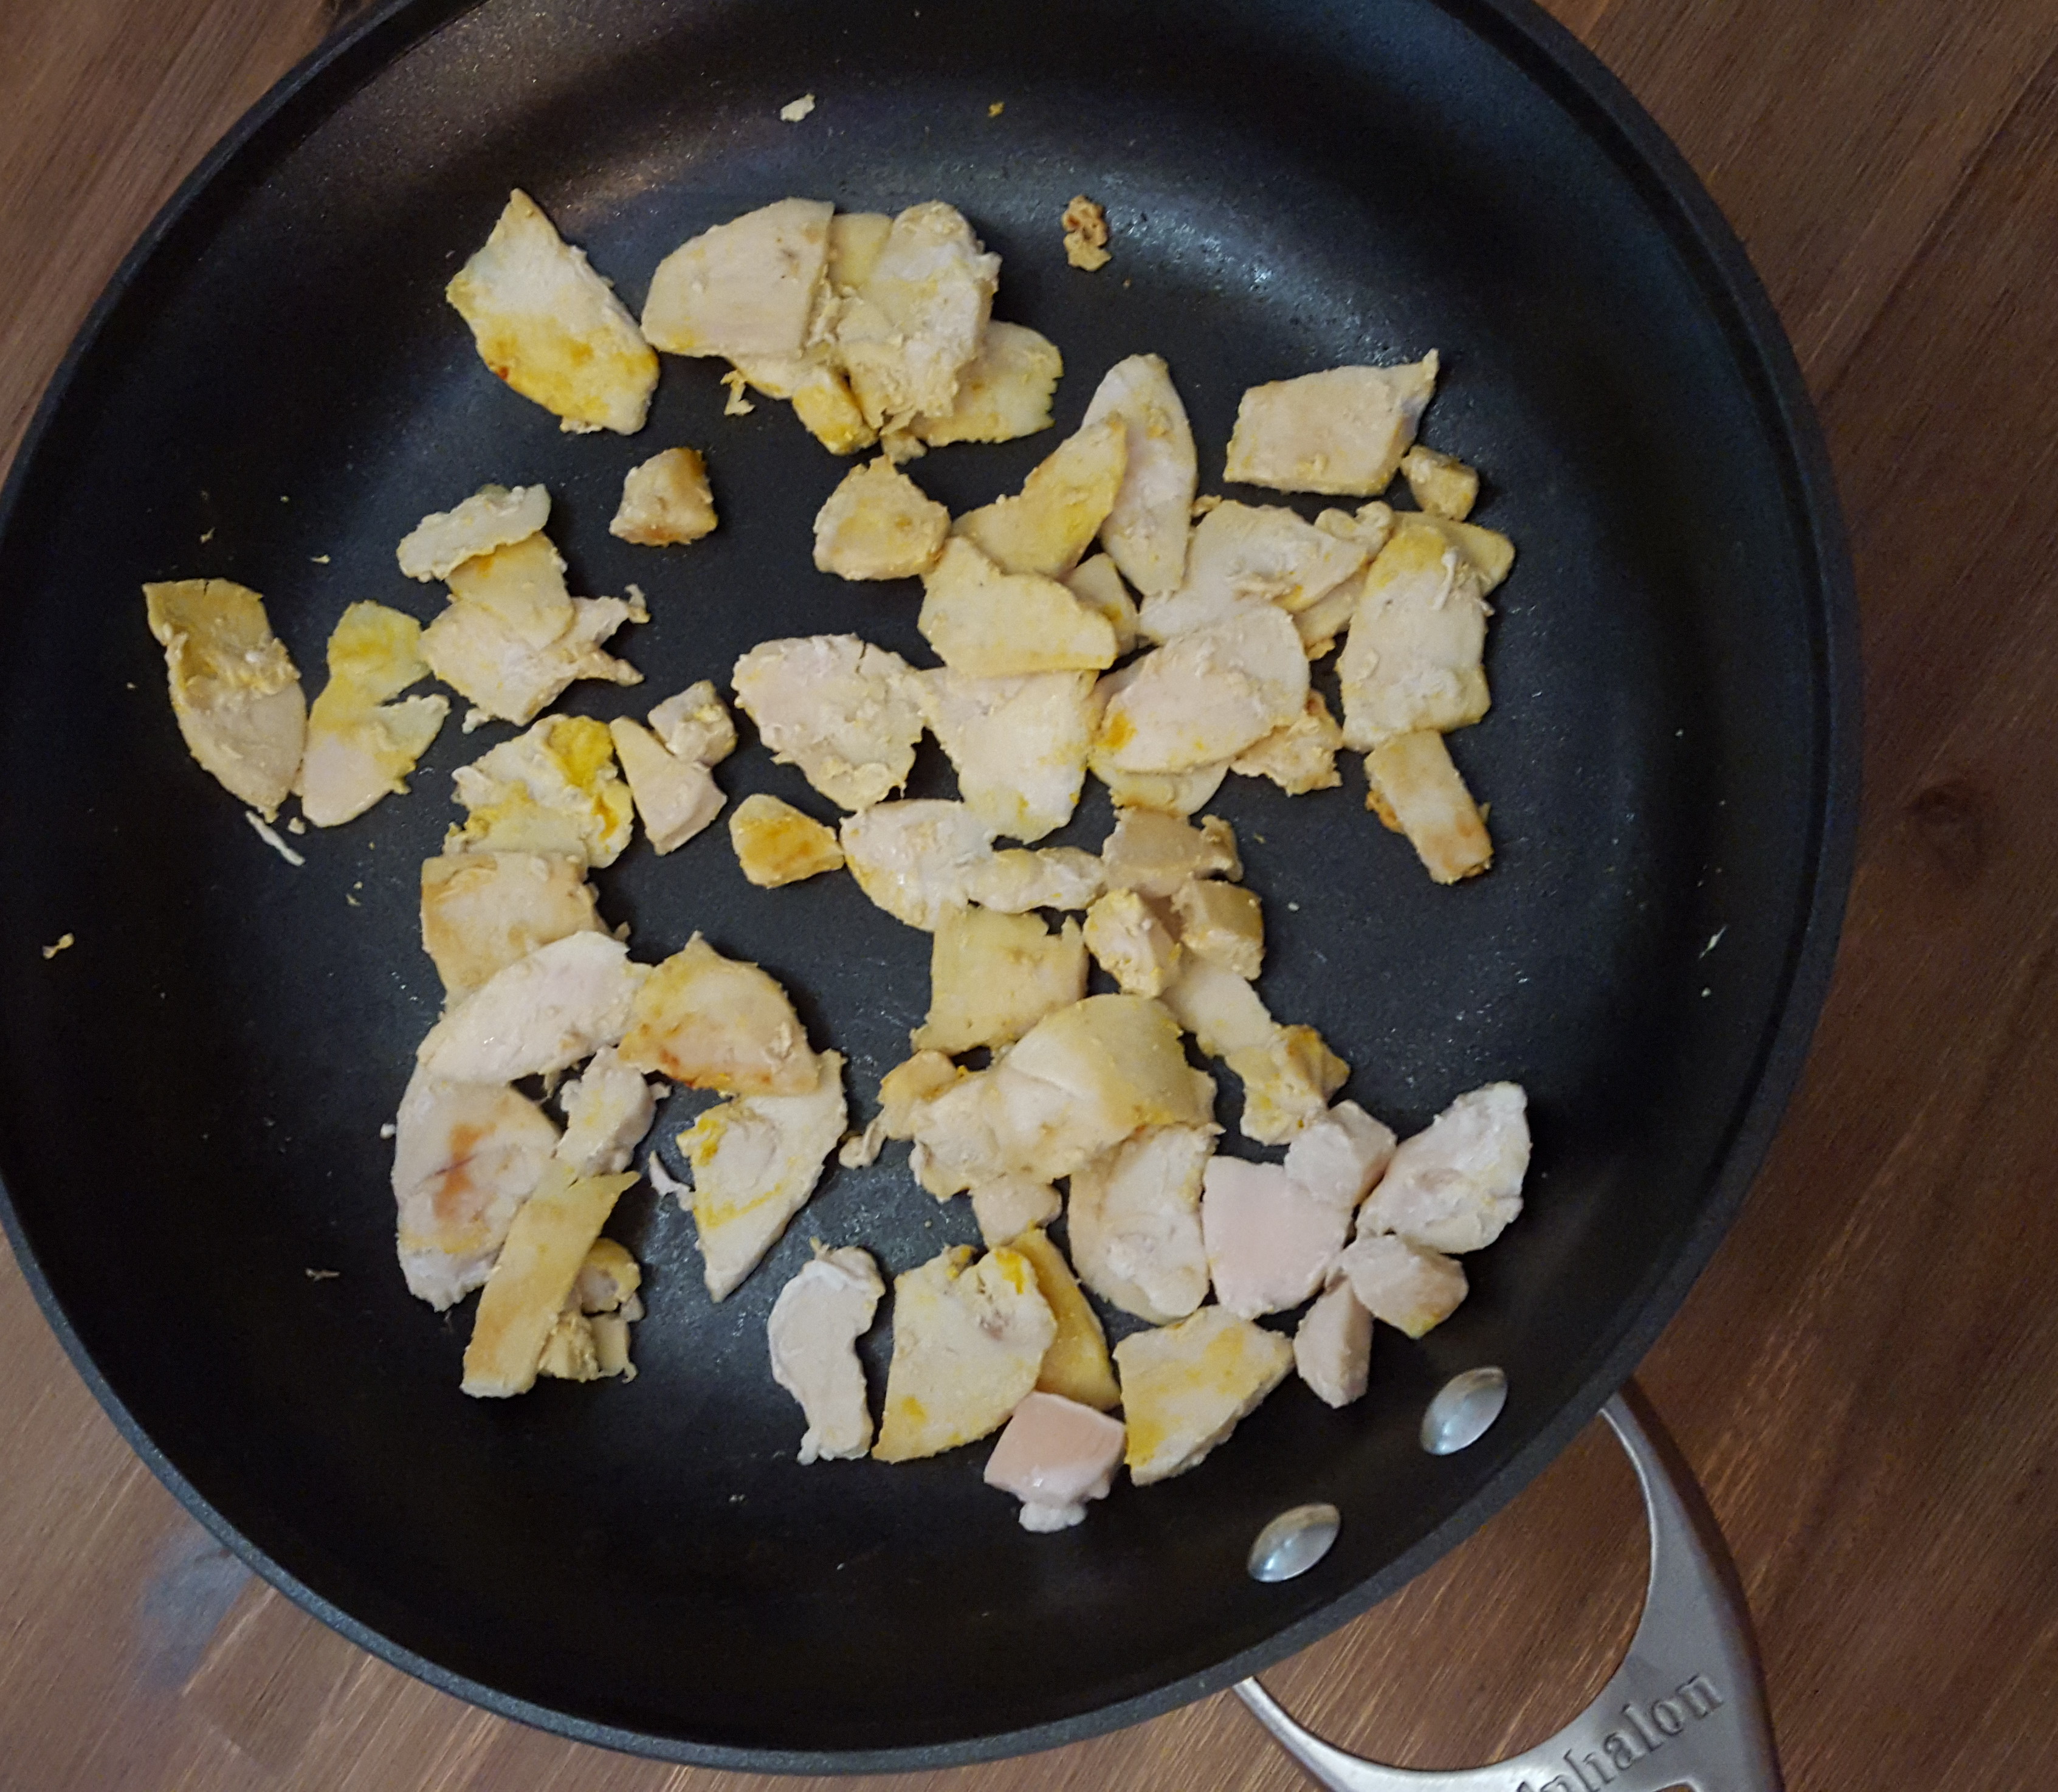
On that particular Thursday evening, my husband had gotten home from the office earlier than expected which worked out great for me!  I made the spice rub and he prepped the chicken for the grill.  We ran a little short on the spice rub so I had to improvise and just sprinkle on some extra spices.  I made a note to increase the amount for the next time.  It needed a bit more flavor too, so I increased the amount of garlic and onion powder.   The smokey spice rub was great on chicken the first time, but after a few simple modifications it tastes even better now! I used it for some chicken breast that I sauteed in the pan too and loved it.  It’s really simple to put together whenever you need it, but can be made ahead as well.  Just keep it in an air tight container and you’ll have a simple and delicious spice rub without all of the unnecessary ingredients!
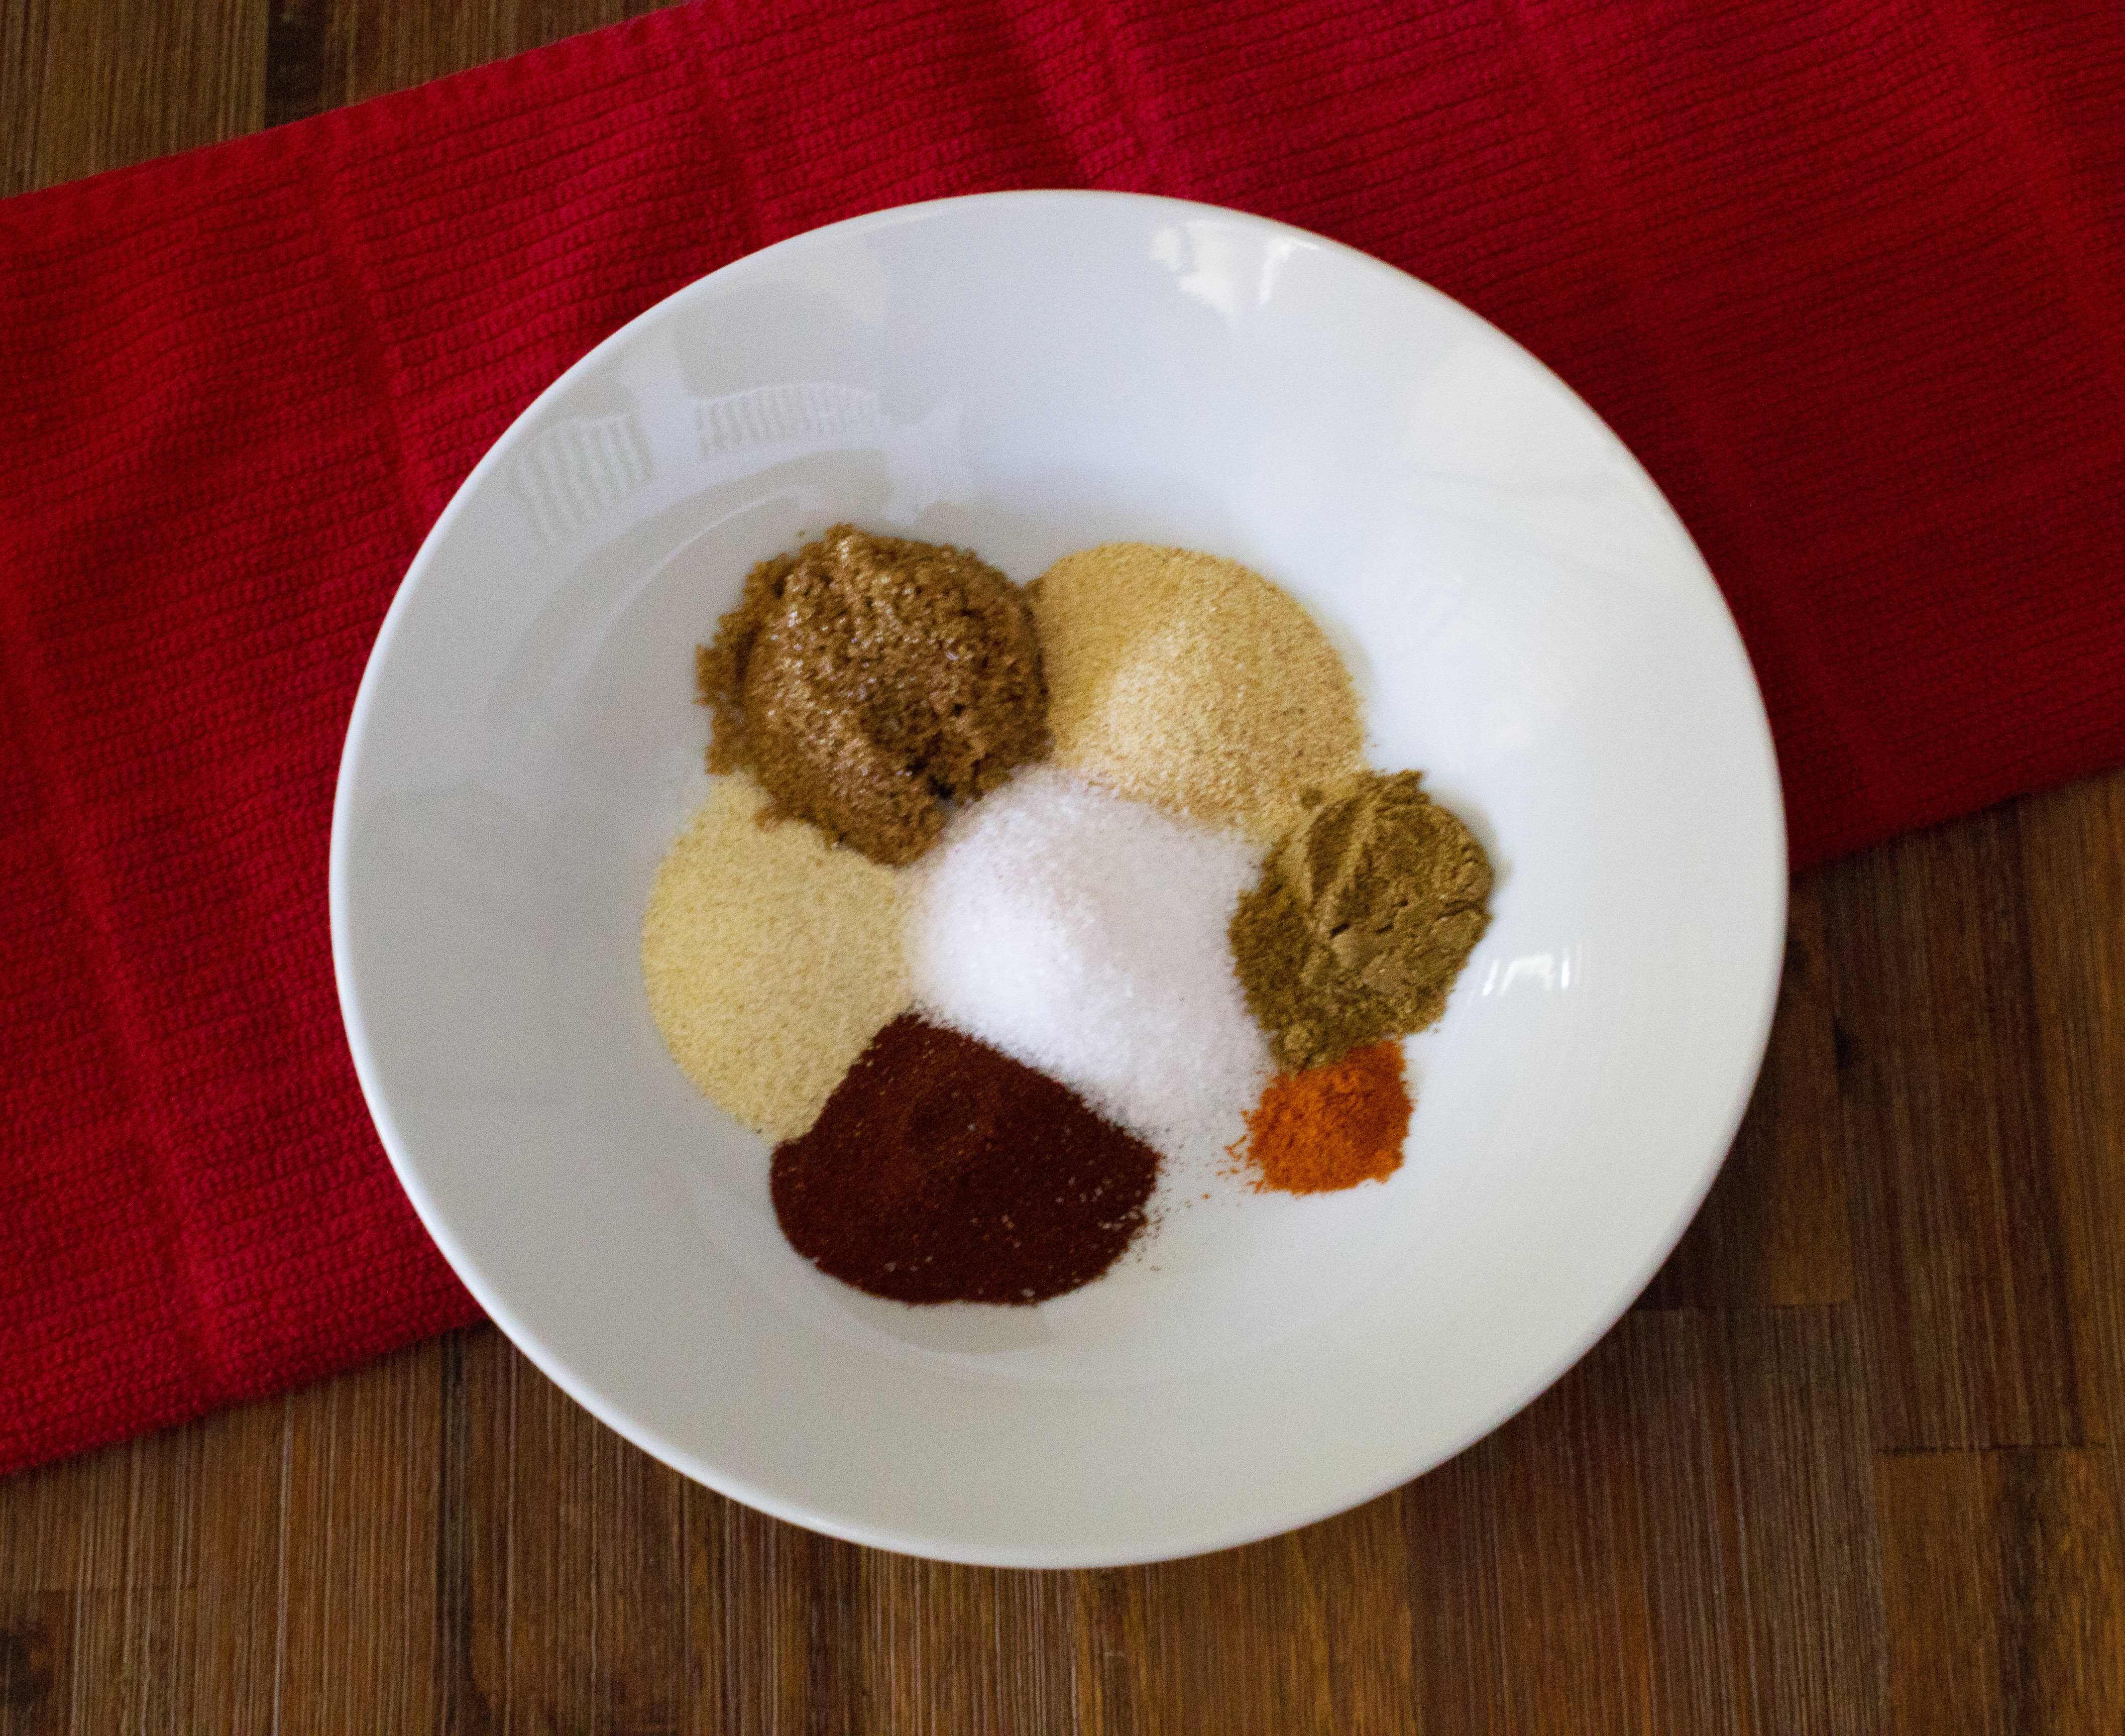
 

Ingredients

2 Tbs coconut sugar (or brown sugar)

1/4 tsp cayenne pepper

1 tsp cumin

1 Tbs paprika

3 tsp garlic powder

3 tsp onion powder

1 Tbs sea salt


Smokey Chicken Rub 01


Method

Pour all of the ingredients into a small bowl and mix together with a fork or with your fingers.  If you’re using brown sugar, make sure to break up all the little chunks of brown sugar.  Store it in an air tight container and throw it in the spice cabinet for later or sprinkle it on some chicken and you’re ready to go!

Hope you guys enjoy this as much as we did.  You can rub it on some chicken right before you cook it, so you don’t need to prep the chicken ahead of time.  Although I have put it on some chicken legs and let them sit in the fridge until we put them on the grill and that worked great too!

Continue Reading

Spicy Cashews (paleo, vegan, & gluten free)

Spicy Cahews


The Indian market has these super spicy cashews that the husband is in love with however they are literally dripping with oil.  They make them in house and I’m not sure why they are so greasy!

As I was leaving for my usual Trader Joe’s run on Monday, I asked the hubby if there was anything in particular he wanted.  He asked for some snacks and then he got this sad look on his face and said he really wanted spicy cashews from the Indian market.  Then he went on about how oily they are and basically talked himself out of it.

My mom always roasts and seasons her own almonds and things so I figured I could just spice up some cashews at home.  I’m always buying cashews anyway!  I take them everywhere with me.  There’s a bag in my car at all times and some at home.  I usually buy the roasted and unsalted ones from Trader Joe’s because I like the way they taste.  I had to think about the flavors of the spicy cashews before I got started.  They are not garlicky and don’t have a lot of herbs.  They’re just flat out spicy!  I played with the amount of heat and for us they came out just right.  I gave my mom some and she said they were a little too spicy, so if a lot of heat isn’t your thing I would recommend 1/2 tsp chili powder.

I think I’ll be whipping up a batch of these a couple times a week.  We go through almonds, walnuts, and cashews pretty quick around these parts.  Now that we have not just cashews but spicy cashews, between the hubby and I they are going to disappear!

Spicy Cashews 3


Ingredients

2 cups unsalted cashews

1/2 Tbs avocado oil

3/4 tsp chili powder

1/2 tsp cumin

1/8 tsp sea salt


Method

Heat a pan on medium heat.  Add oil and cashews to the pan and give them a toss in order to coat the cashews.  Sprinkle in the rest of the ingredients and stir it all together for about 30 seconds or until everything all of the cashews are covered in those yummy spices.  Keep on heat for about 2 minutes and remove from heat.  Let them cool and you can put them in bowl or in a Ziploc bag for later.  In less than 5 minutes you’ve got a healthy and tasty snack.  Enjoy your spicy cashews!


Continue Reading

Blueberry Protein Smoothie (paleo, gluten free, & vegan option)

Blueberry Protein Smoothie (2)

Protein, protein, protein!  Must have more protein! This has been my mantra of late.  After recovering from a nasty broken tailbone, I am back on the fitness train.  I enjoy being active and full of energy.  Exercising on a regular basis really helps with all of that. It also relieves stress like no other!  I always struggle with the food part though and I don’t mean that I eat unhealthy.  I actually do not eat enough.  It sounds crazy, but in order to increase muscle and cut fat you actually need to intake a lot of protein.  I get so caught up in running around doing five hundred things that I forget to have a snack in between meals and sometimes I miss meals, and then I’m this crazy hungry person.  I’ve been really good the past few months though.  I pack snacks to take along and I never skip breakfast because I am always hungry.  Always!  Apparently, working out regularly will do that to you.

In an attempt to boost my protein, I have a protein shake at least once a day.  I used to mix the protein powder with water, but I got a Vitamix for my birthday last month and it’s been smoothie palooza ever since! Even the hubs is making smoothies.  We just throw a bunch of fruit in, give it a whirl, and viola!  Last week he added protein powder to one of the smoothies and it tasted awesome!  I’ve actually tried protein powder in my smoothies before and I never liked it, but this was so good.  It didn’t have that chalk like after taste that protein powder always has.

I have a protein smoothie every day now.  Loaded with spinach and frozen fruit it makes a perfect snack and it’s pretty filling.  Today I made one and put it in a to go cup so I could drink it while I was picking up the little ones.  We make a few variations of this smoothie and this is the one that I make most often.  Once I get the measurements figured out, I’ll post some of the others as well.  Trying out some paleo protein powders too so I’ll let you know how those are!

Blueberry Protein Smoothie 4


*Makes one smoothie

Ingredients

1/2 cup almond milk

1/2 banana

1 cup spinach

1/2 cup frozen blueberries

2 Tbs almond meal

1 scoop protein powder (vanilla or chocolate)

**For a vegan version use vegan protein powder.


Method

Place ingredients in the order they are listed into a blender or bullet of some sort and blend really well.  If you are using a Vitamix, just use the Smoothie setting.  If you are using a bullet or another blender, let it run for a minute.  Pour into a nice tall glass or to go cup and you’ve got a perfect afternoon or mid-morning snack.  It’s a little sweet too which helps get rid of that afternoon sugar craving!


Continue Reading

Mango & Pineapple Parfait (vegan, paleo, & gluten free)

Mango Pinapple Pargait 01


My birthday was last month and the whole family came over for dinner.  I have a rule I follow which states that I do not bake my own birthday cake.  It’s the principle of it really.  It’s my birthday, bring me a cake people!  My mom sweetly volunteered to make my cake, but crazy me just couldn’t not make a dessert of any sort since everyone was coming to our place.  I had to make something!

I also had those who are vegan and lactose intolerant in mind because I was pretty sure that my mother’s lovely cake would contain both.  We had a bunch of mangoes in the fridge and I thought how awesome would mangoes taste with coconut cream?! I started salivating just thinking about it, so I ran to the pantry to grab a can of coconut cream and put it in the freezer for a couple of hours.

When making a batch of coconut whipped cream, I usually refrigerate my coconut cream over night.  It just works better that way, but when in a pinch an hour or two in the freezer is workable too.  I didn’t want to add a lot of sugar, so I made a mango puree in the nutribullet and folded it into the coconut whipped cream.  Just those two things together were amazing!  I could have spooned the whole bowl myself, but sharing is caring so I started putting the dessert together.  While I was at it, I decided to make it paleo and use a tad of coconut sugar to sweeten it.

The pineapple chunks I used were frozen and I thawed them for an hour and gave them a pat with a paper towel before adding them to the bowl.  Now, when I made this for my birthday dinner I had added white nectarines as the bottom layer of the trifle dish, but the nectarines were deemed unworthy by some of the relatives so I left them out the second time I made the parfait.  I actually enjoyed the nectarines, but pineapples and mangoes do taste pretty perfect together!


Mango Pinapple Parfait 02


Ingredients

3 mangoes

2 cups pineapple chunks (fresh or frozen)

1 12 oz can coconut cream

2 Tbs coconut sugar


Method

Cut two mangoes into little chunks and thaw your pineapple ahead of time if necessary.

Puree one of the mangoes in a bullet, blender, or food processor. Place the mango puree in the fridge.  You would usually just use the cream part of the coconut cream and leave out the water that is left at the bottom of the can, but since this becomes almost mousse like I used all of it. Pour the coconut cream and coconut sugar into the bowl of your mixer.  Mix on medium speed until the cream starts to thicken, then mix on high speed until light and fluffy. About 2 minutes.  Remove the mango puree from the fridge and gently fold it into the coconut whipped cream.

Now you can assemble your parfait starting with the mangoes.  Whether you’re layering it in one big bowl or placing the mango pineapple parfait into individual bowls start with the mangoes.  Then add a layer of the mango coconut cream, a layer of pineapples, another layer of coconut cream, and top it with mango pieces.

Place it in the fridge for at least 30 minutes before serving.

If by chance you end up with leftovers, pour it into popsicle molds and freeze for 3 hours or more.  The chunks of fruit and coconut cream made delish popsicles!

Mango Pinapple Parfait

Continue Reading

One Bowl Paleo Brownies (gluten free & paleo)

One Bowl Paleo Brownies

Last week was a little rough in the emotional department.  I’ll spare you the sappy details but lets say that it warranted some chocolate therapy.  There’s a cupcake shop not far from me that makes a red velvet GF cupcake.  The thought of running over there and picking up a cupcake kept crossing my mind!  Then I thought about all the sugar and frosting, and it made me change my mind.

I made a lifestyle change a few months back, and I’ve had sugar maybe 3 times since.  Honey, maple syrup, and coconut sugar are okay, but that’s about it.  My taste buds have adjusted and even if I try a little bite of a cupcake or macaroon, I can’t have more than just the one bite.  They have become a little too sweet for me.

My sister made paleo brownies a few days before my need for chocolaty goodness, so I asked her for the recipe she used.  Her recipe called for a lot of almond butter which I was almost out of.  I always have extra jars of almond butter in the pantry, but of course the one time that I am in need of oooey goooey fabulous brownies, I’m almost out!  Oh well, off to Pinterest I went to look up a few recipes for paleo brownies and whipped up a batch with ingredients I had on hand.

The first batch wasn’t quite fudgy enough, like a brownie should be.  The texture was more like that of a cake.  So I added the little almond butter I had left to the second batch and BINGO!  Moist and rich paleo brownies at your service!  I added walnuts for fun and loved it, but that’s a completely optional ingredient.

One Bowl Paleo Brownies 01

Ingredients

1/2 cup ghee or coconut oil

1/4 cup maple syrup

1 tsp vanilla extract

2 eggs

3 Tbs almond butter

1 cup almond flour

1/2 cup cocoa powder

1/4 tsp baking soda

pinch of salt

1/2 cup chopped walnuts (optional)


Method

Grease a 7×11 or 8×8 baking dish.  I used a 7×11 pyrex.  Preheat oven to 350*F.

In the bowl of your mixer cream together the ghee, maple syrup, and vanilla extract.  Add eggs one at a time and almond butter and blend well.  Add the dry ingredients and mix just until blended.  Try not to over mix.  If your are adding walnuts stir those in with a rubber spatula.

Poor mixture into pan and pop it into the oven for 25 to 30 minutes.  The top should be a little flakey and the center should be fairly firm and spongy.


Continue Reading

Thai Basil Curry (gluten free, dairy free, & paleo, with a vegan option)

Thai Basil curry 01


At our last place there was a Thai restaurant right down the street that had the best Green Curry.  It was incredibly convenient because they delivered and if we had last minute guests we would just order and have it delivered to the house. The girls loved their chicken satay and the hubs and I would order the green curry at least a couple of times a month.  It was such a great take-out spot for those lazy Friday nights.  Since we moved two years ago, I haven’t been able to find a Thai place that we really like so I started making Thai Curry at home whenever I get a craving for it.

There are several types of Thai curry, but the one I like the most is the green curry.  Thai basil and chilies give the curry its green color and fabulous flavor.  Luckily with a little help from some green curry paste I’ve been able to recreate that awesome flavor at home.  Thai curry is also dairy free, which makes it paleo friendly as well.  It would still be nice to find a good Thai restaurant around here, but when I make it I can put whatever I want in it!

This time I went with mushrooms, but I’ve made Thai basil curry with bamboo shoots or bell peppers, eggplant tastes delicious in it too!  If you prefer a vegan meal, just leave out the chicken.  It’s amazing either way, and can all be prepared in one skillet. I have been leaning toward the paleo lifestyle these days so I served it on my current fave cauliflower rice, but white or brown rice are both wonderful additions.  I’ve had it solo before too, but I just love having something in my bowl that soaks up all that yummy curry sauce!

Oh that reminds me, the chicken in this dish is cut into thin slices.  The easiest way to get your chicken cut very thin is to slice it when it’s frozen.  I let the chicken thaw about 10 minutes, then I slice it.  That way you don’t have to break your arm trying to cut through it when it’s frozen solid!


20150728_191540

Ingredients

*Serves 2 to 3 people

1 chicken breast half, thinly sliced

3 cloves garlic, crushed or diced

2 cups sliced mushrooms (or other vegetable of choice)

1/2 of a Thai chili, sliced

7 oz full fat coconut cream

1 Tbs Green Curry Paste (I use Thai Kitchen paste, since it’s GF)

1 cup Thai basil

1/2 lime, juiced

salt and pepper to taste

cooking oil


Method

Heat 1 tsp cooking oil in a large pan.  Place sliced chicken in pan and cook until both sides are slightly golden.  Add the garlic, Thai chili slices, and mushrooms to the pan and cook on medium/low heat stirring occasionally for 5 minutes.

Reduce the heat to low and add in the coconut cream, green curry paste, Thai basil, lime juice, salt, and pepper.  Stir it well and let simmer for another 5 to 10 minutes.  If the cream thickens a little, just add some room temperature water, a tablespoon at a time until you reach the desired consistency.


20150728_193518

Continue Reading

Coconut Mocha Cream Pops (paleo, vegan, & gluten free)

Coconut Mocha Cream Pops

Summer days are here again, and there is nothing better than an ice cold treat on a hot summer day!  My girls have been enjoying their ice cream while I just stare and drool.  Now let me explain why I’m not eating spoonfuls of ice cream and sharing in the brain freezes with them. My doctor told me a few months ago that I need to intake more protein and that my cholesterol was a tad high.

That caught me off guard, since I don’t really eat anything high in fat.  Well, other than cheese.  I’m basically a mouse, so I decided that must be what’s causing it.  I have stopped eating cheese for the most part as apposed to having it on top of everything I eat, and cut out other dairy items that are high in fat.  My last test results showed a much lower level of bad cholesterol or LDL.

I love ice cream though, always have.  In my college days I would order dessert before I had dinner just to make sure that I had room for it.  I know, it was a problem.  I realized years later that my body was probably not very happy with me. Growing up in a house where you hardly ever found anything artificial or super sweet, it wasn’t that difficult for me to return to the old ways.  It has taken some inner strength to not give in to ice cream though!   I’ll have a spoon now and then but nothing crazy!

Luckily I recently discovered banana ice cream, which we like to call “nana cream”.  That has saved me from attacking a tub of ice cream more than once!  I really wanted something a little different a few weeks back, something coffee flavored and creamy.  I know, that’s a very specific craving, but I wanted it!  I was pondering how to make such a thing, and then I remembered the Donut House Coconut Mocha Kcups that my bestie got me hooked on last summer.  There is always coconut cream in my cabinet, so I grabbed it and in the blender it went.

I added some cocoa powder, instant coffee, vanilla extract, and sweetened it with coconut sugar.  I don’t like my coffee that sweet so go ahead and add more sugar if you need to.  I had to blend it and taste it a couple of times before the mixture seemed right, but 4 hours later I had these Coconut Mocha Cream Pops.  Needless to say, I was very happy!  They taste exactly like the Coconut Mocha Kcups! There’s a couple in my freezer at the moment actually.  I may just have to bust one out a little later!

Coconut Mocha Cream Pops 02


Ingredients

13oz can coconut cream

1 tsp cocoa powder

3 1/2 tsp instant coffee

1 Tbs coconut sugar

1/2 tsp vanilla extract


Method

Place all ingredients into a blender or food processor.  I used my Nutribullet since it’s always on my kitchen counter.  Blend it all up until it is completely mixed together then poor the mixture into popsicle molds.  It should fill 5 or 6 regular size popsicle molds.  I only had four, so I poured the rest of the mixture into silicone ice cube molds.  That worked out really well too.  Pop them into the freezer for 4 hours or more, and you have yourself a super tasty cool summer treat!


Continue Reading

Tangy Chicken Tacos (paleo & gluten free)

Tangy Chicken Tacos 01

Its funny how cooking is sometimes like a science experiment.  You add a little bit of this and a little of that, then wait to see if its amazing or blows up in your face.  There were many experiments that took place in our kitchen before I got a handle on the spices and ingredients that I now use on a daily basis.  We live in such an international world though, that I’m always finding new and unfamiliar ingredients that I want to play with and the experiments begin again.  I never thought food would be my thing, but it is.  I love happy faces after a good meal, I love cooking and eating with my family and friends, and I love making something new and wonderful!

In this case, the new and wonderful something is these Tangy Chicken Tacos.  I was given a recipe for Thai Lettuce Wraps a couple months ago, and a few of the ingredients were not gluten free.  One of those ingredients is plum sauce.  The idea of a tart sauce just sounded really tasty, so I was trying to create a bit of tang in this version as well.  I mixed red wine vinegar and tamari, not sure what the flavor would turn out like, but it was exactly what I was aiming for!  Just goes to show that you never know until you try.

In an effort to get some extra veggies into the meal, I added broccoli and mushrooms, and served them in a romaine lettuce shell.  They are ready in jiffy, which is a must for me.  If a meal takes longer than 45 minutes, it is not happening in my kitchen during the week!  I dice everything so it cooks a little quicker, and the hubby almost didn’t notice all the broccoli.  He’s not really a broccoli fan.  Oh well!  How can you not like broccoli?!?  I’ve made them about three times since and they’ve become a quick favorite.


Ingredients

1 tsp cooking oil

3 chicken breast halves, diced

3 cloves garlic, crushed

1 cup chopped broccoli

1 cup chopped mushrooms

3 Tbs Tamari

2 1/2 Tbs Red Wine Vinegar

1/4 cup chopped basil

1/4 tsp red chili flakes

2 Tbs water


Method

Heat oil in a large pan and add diced chicken.  Cook on medium heat until chicken is golden.  Add the garlic, chopped broccoli, and mushrooms.  Stir in the red wine Tamari, red wine vinegar, basil, dried chillis, and water.  Simmer on low heat for about 5 minutes.

Scoop some into your lettuce shells, and your one skillet meal is complete!

Tangy Chicken Tacos 02


Continue Reading

Warm Brussel Sprout & Broccoli Salad (paleo, vegan, & gluten free)

Brussels and Broccoli Salad 03

I love salad!  Most of my lunches consist of some sort of salad, especially in the summer.  There is something about hot weather that makes me not want to eat piping hot food.  I don’t know what it is, but I prefer to have casseroles and things of that nature when it’s a little cooler.

For lunch I’ll just throw together some veggies and have leftovers on the side or just have the salad.  A few weeks ago I had a fridge full of brussel sprouts and broccoli and needed to whip something up for lunch. I needed it to cook quickly, so I chopped everything up and threw it in the pan with a little oil, red wine vinegar, and spices.  I topped it with dried cranberries and chopped almonds for some added flavor and texture.  I have made this Brussel Sprout & Broccoli Salad a few times since then, because it’s so good!

It also makes a great base for adding in other ingredients.  So far I’ve made it with chopped butternut squash, bacon, and chicken.  The cranberries can be replaced as well I’m sure.  Maybe with raisins or grapes.  Let me know if you change it up!


Ingredients

1 tsp cooking oil

8 oz brussel sprouts, chopped

2 cups chopped broccoli

1 clove garlic

4 Tbs red wine vinegar

1 tsp olive oil

salt and pepper to taste

1/4 cup chopped or slivered almonds

1/4 cup dried cranberries


Method

Heat oil in a medium pan on medium heat.  Add in the garlic, brussel sprouts, and broccoli.  Cook on medium/low heat for about 5 minutes, just so the veggies aren’t completely raw.  Stir in red wine vinegar,olive oil, salt and pepper, and remove from heat.  Place in serving dish and top with cranberries and almonds.

I always have whole almonds on hand so I just chopped them up, but slivered almonds work well if you want to avoid the chopping!

Brussels and Broccoli Salad 02


Brussels and Broccoli Salad 01

Continue Reading

Chocolate Hazelnut Bites (vegan, paleo, & gluten Free)

Chocolate Hazelnut Bites 01

The first time I tasted Nutella, I was a kid at my aunt’s house.  Some relatives had smuggled some over from Germany and I thought it was the greatest thing ever created!  Now that I’m sort of grown, I don’t really appreciate all of the sugar and unnecessary ingredients.  I occasionally get the Justin’s brand which is on the healthier side and you can actually see the little pieces of hazelnuts in it.

I wanted something sweet the other day, and suddenly started craving Nutella.  Since that’s not happening, I mixed a little cashew butter, honey, and cocoa powder together for a quick fix.  Then it hit me, chocolate hazelnut bites!  How amazing would those flavors taste with some hazelnuts mixed in?  That’s exactly what they are; amazing! These chocolate hazelnut bites taste like a wholesome version of Nutella without all of the sugar.

I realize that I caught the late train with this whole “Bite” idea, but now that I’ve discovered them, the possibilities are endless!  I’m pondering something with cashews and cardamom for the next batch.


Ingredients

1 cup cashews

1/3 cup hazelnuts

1 Tbs cashew butter

1 tsp honey

3 Tbs cocoa powder


Method

Place all of the ingredients in a food processor and blend until it becomes like a mold-able paste.  Roll into round bites and place on parchment paper.  I sprinkled them with a little cocoa powder and crushed hazelnuts, but it’s not necessary.  They are perfectly delightful just as they are.  You can also refrigerate them if you prefer them cold, but they kept well in an airtight container on the kitchen counter as well.


Continue Reading