Chocolate Hazelnut Cream Pie

Chocolate Hazelnut Cream Pie 05


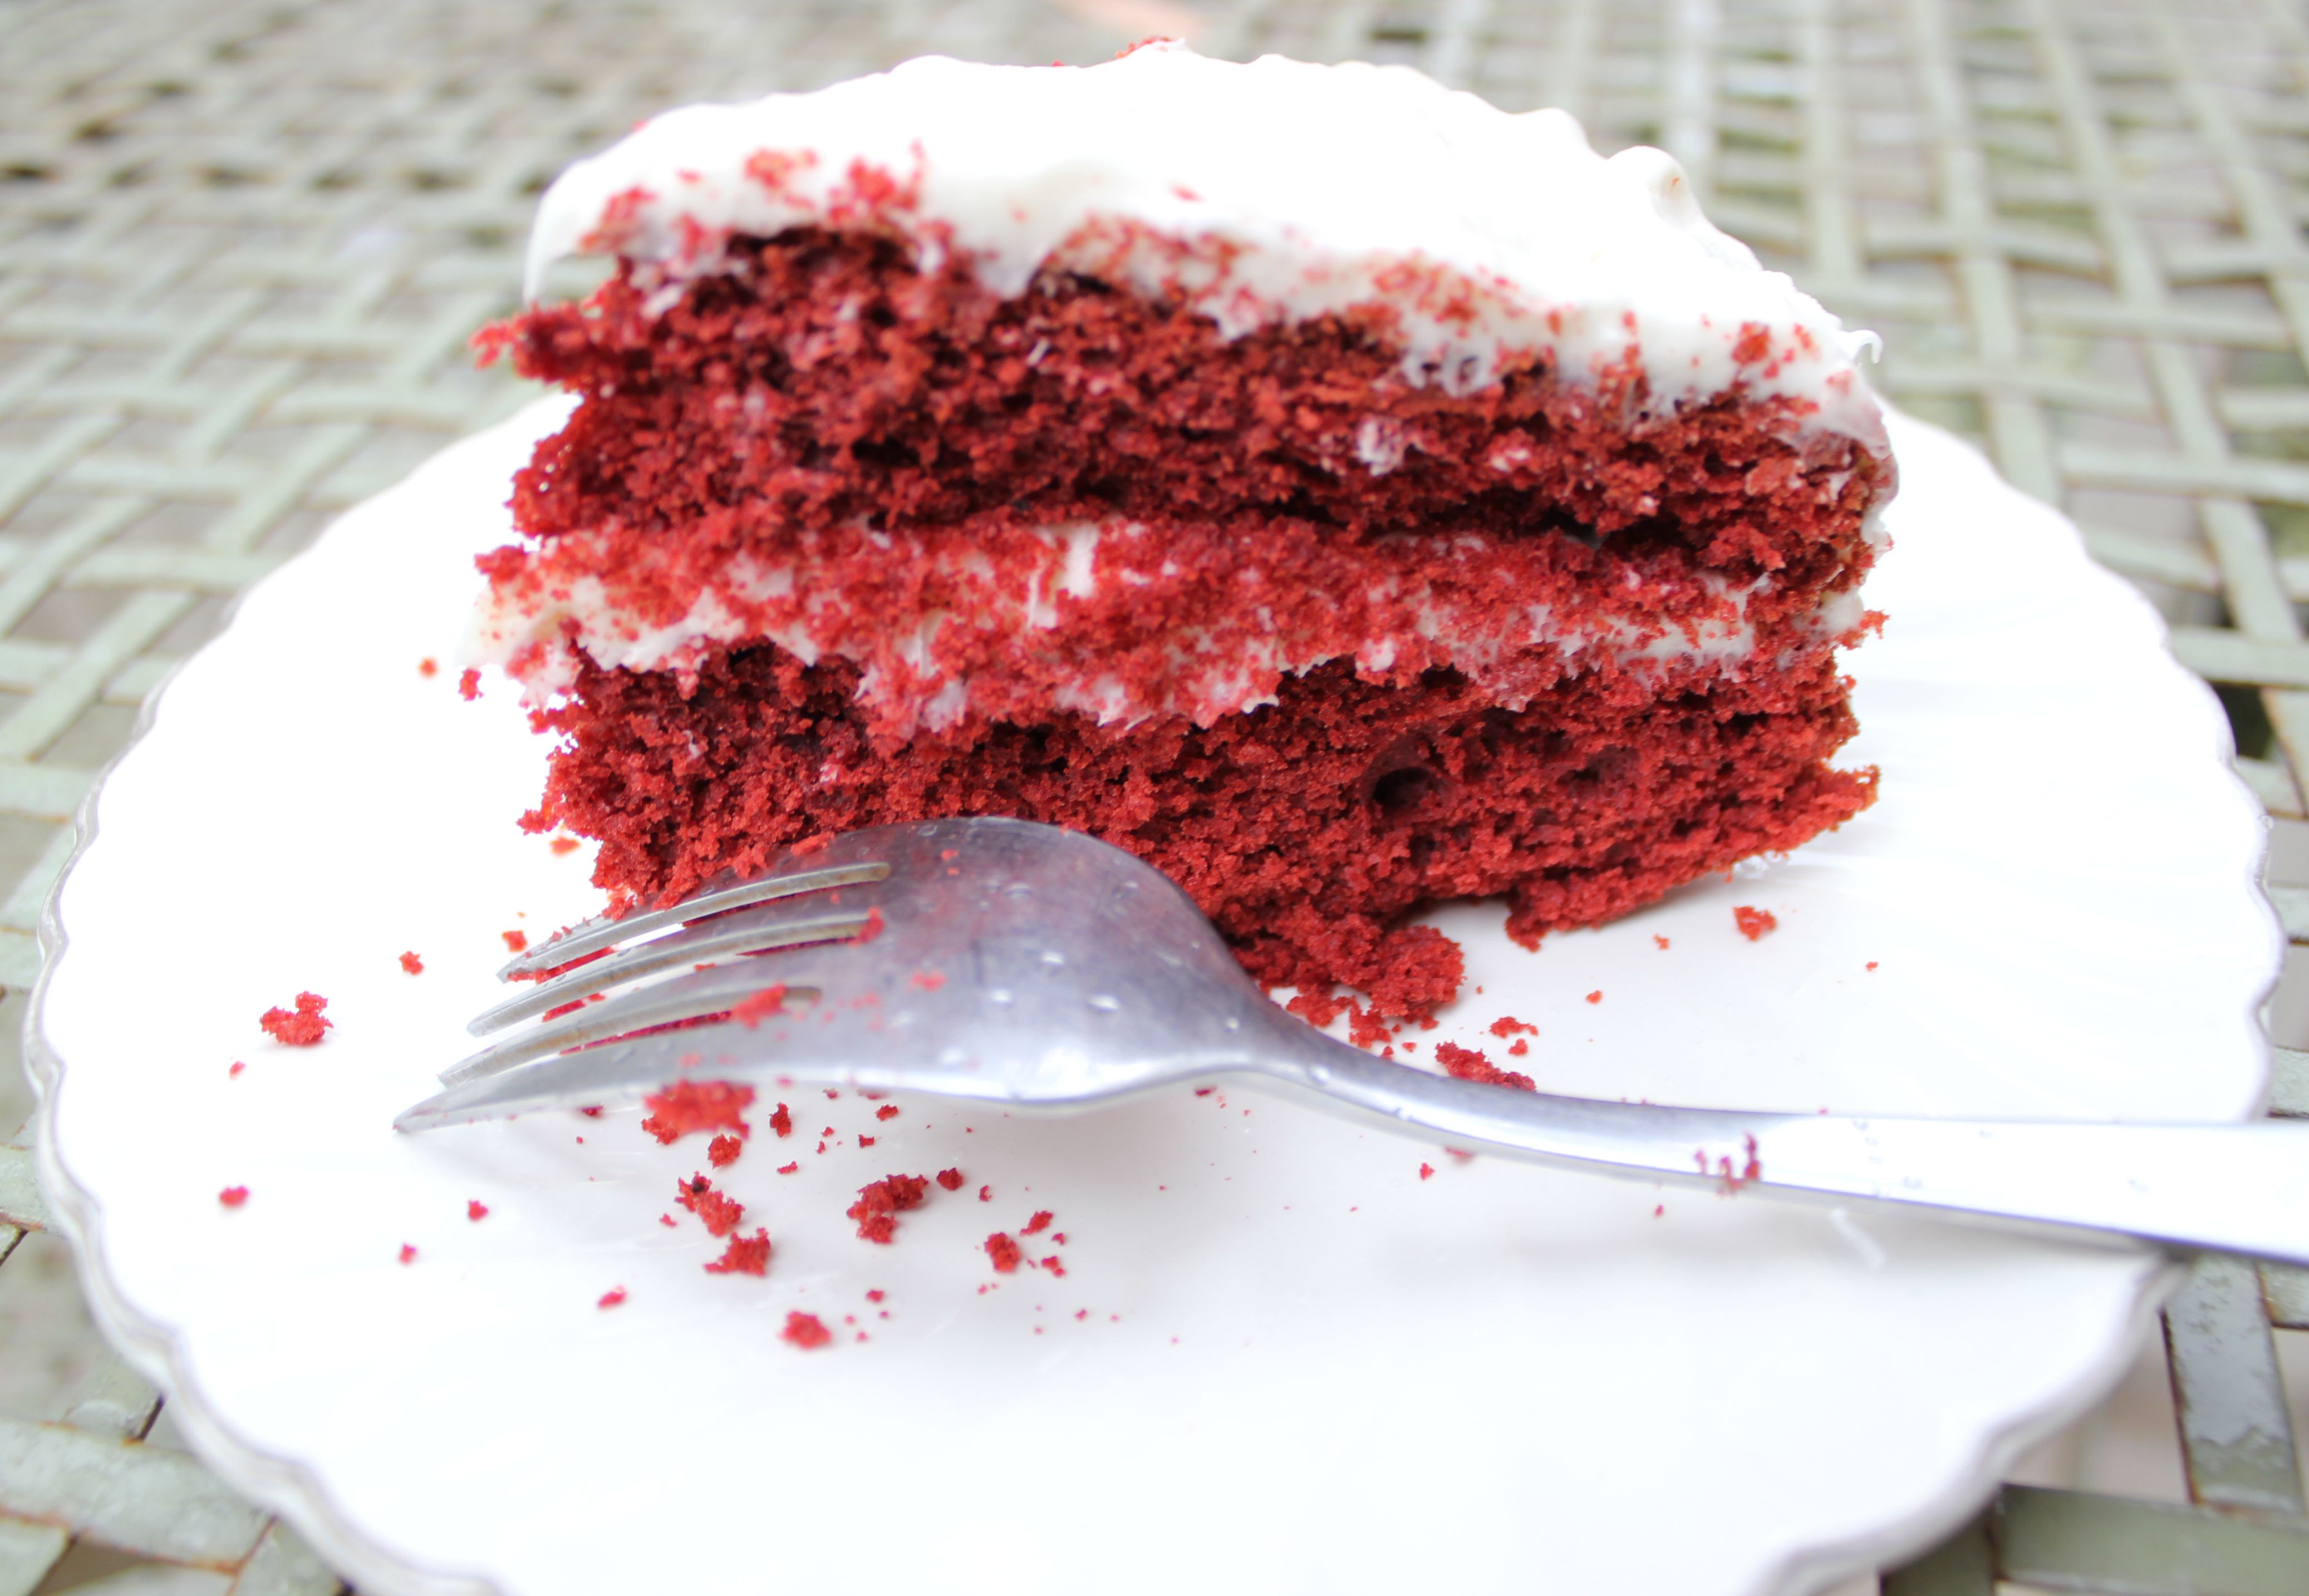
I’m not typically a pie person.  I mean, I love a good pie if it’s made well and the ingredients are fresh but I’m much more likely to bake a cake.  That’s why I haven’t experimented much with GF and paleo pie crusts.  We all have our thing right?  Until very recentIy I didn’t even own a fancy pie dish!  It was actually when I was trying to come up with this recipe that I realized I needed a pie dish.  I have the standard pyrex pie dish that comes in those pyrex tupperware sets, but I wanted something pretty that would photograph well.  I’m such a sucker for cute serving dishes anyway so it didn’t take me long to convince myself that I “needed” to go pick out a pie dish!

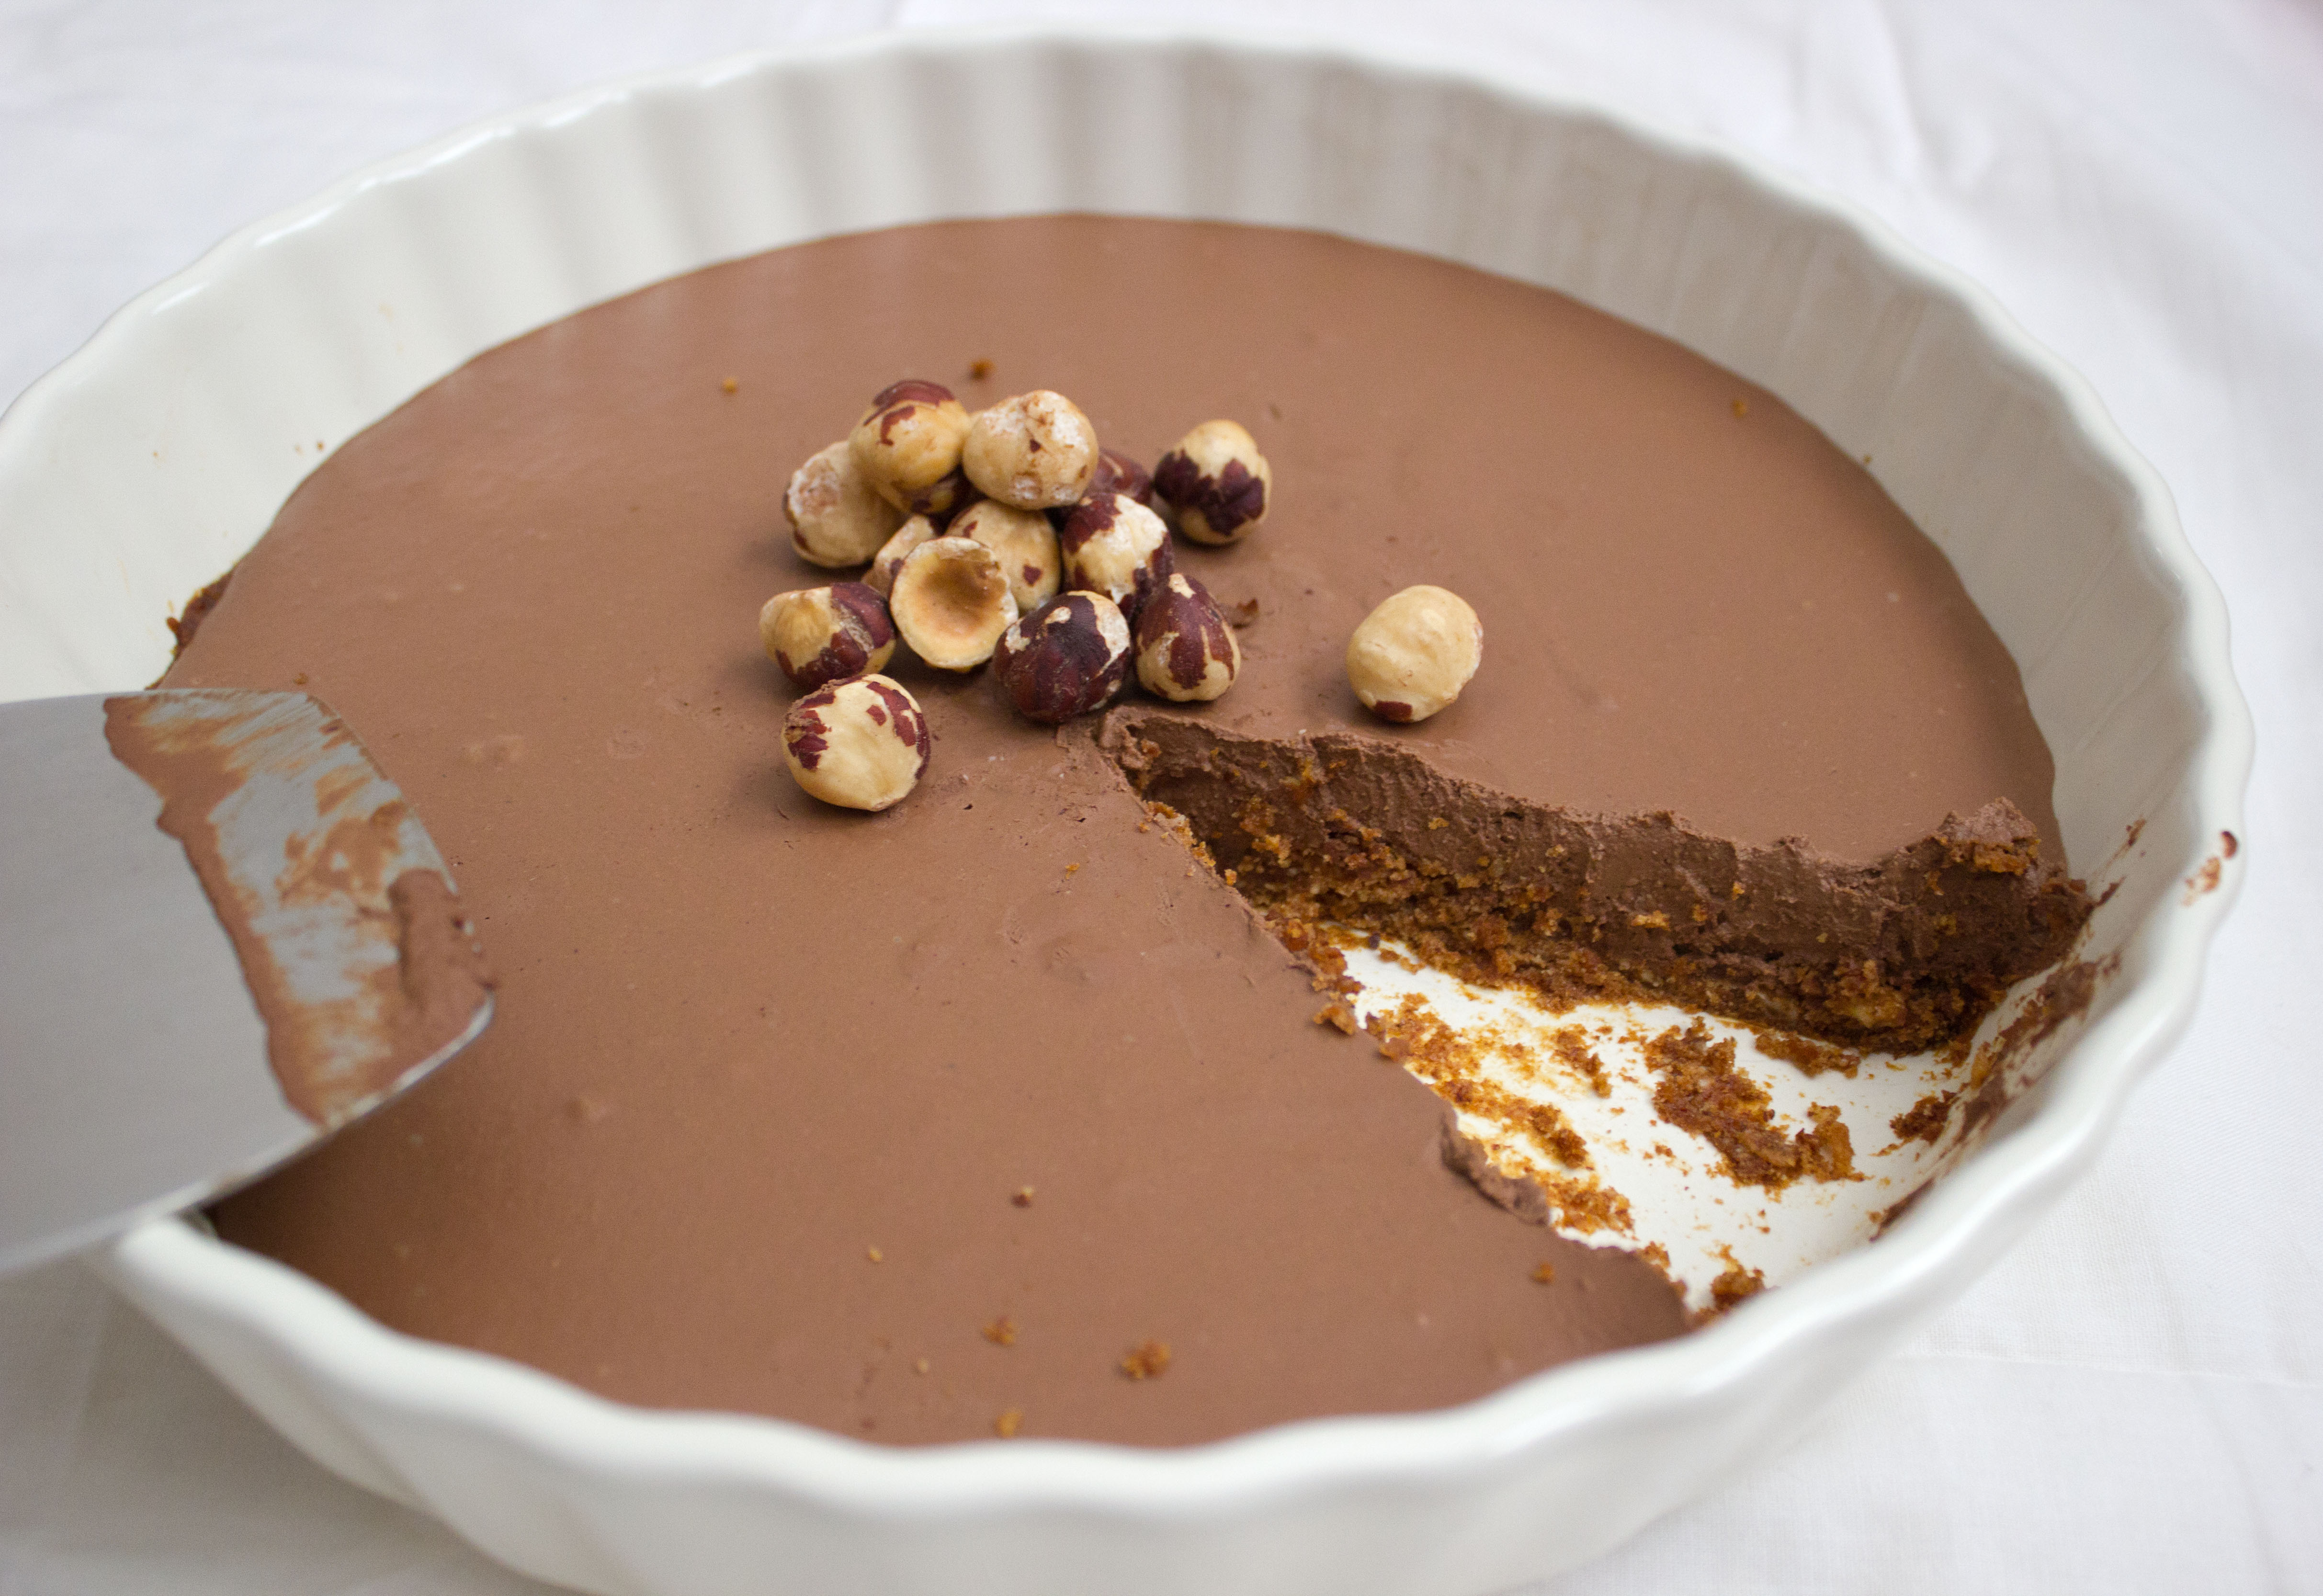
We were having the family over a few days after my pie dish purchase and I figured why not try out the new recipe on my relatives.  My sister is on a paleo diet and it seems like the whole family is trying to eat healthy these days so I’m always experimenting with paleo desserts when we get together so that there is something for everyone.  Plus that gives me a house full of judges who can let me know if its a “woohoo” or a “try again”.  We all love chocolate, the flavor of hazelnuts, and how stinkin’ amazing they taste when you pair them up.  Chocolate and hazelnuts are like the dynamic duo, you just can’t go wrong.  So I attempted this chocolate hazelnut cream pie to serve when everyone was over, but the crust didn’t taste quite right.  It had a sort of burnt flavor that came on a little strong.  Most of the pie was eaten up anyhow, and the only people who really noticed the flavor being a little off were my sister and I which was enough for me.  The filling however was heavenly so we ended up just spooning the rest of it right out of the dish.  Yup just her and I later that night, with wine I believe.  I have been meaning to give the recipe another go and I think I nailed it this time!

Hazelnuts have an amazing flavor but they are potent so you have to be careful not to over do it.  I had originally included hazelnuts in the crust and I think that’s what gave it such a harsh flavor.  I left them out of the crust this time and it lightened up the flavor making for a slightly crunchy crust that’s not too sweet.  Perfect!  You don’t know how hard it was not to just dig into this thing once it was done!  After I photographed it and cut into it though, I totally licked that spatula clean!  My 10 year old and 5 year old really liked it too.  They finished up the mixture for the filling from the vitamix after the pie dish was filled.  Couldn’t keep their little fingers out of there!  Considering it’s made of completely wholesome ingredients and no processed sugars, I was not about to stop them!


Chocolate Hazelnut Cream Pie 02


Chocolate Hazelnut Cream Pie 03


Ingredients

For the Crust

1 cup almond meal

3/4 cup shredded unsweetened coconut

4 Tbs honey

1/4 cup coconut oil

1/2 tsp baking soda


For the Cream Filling

1 14oz can coconut cream

7 dates, soaked in warm water for 10 minutes

1/4 cup hazelnuts

1 cup unsweetened cocoa powder


Chocolate Hazelnut Cream Pie 04


Method

Grease a 9 inch pie dish or baking pan and preheat your oven to 350*F.  Starting with the first ingredient for the pie crust, place all the ingredients in a food processor.  Process until completely combined.  It should feel like a grainy dough.  Press the dough for the crust into the greased dish until it’s evenly spread out.  Place the crust in the oven for 10 minutes or until slightly browned.

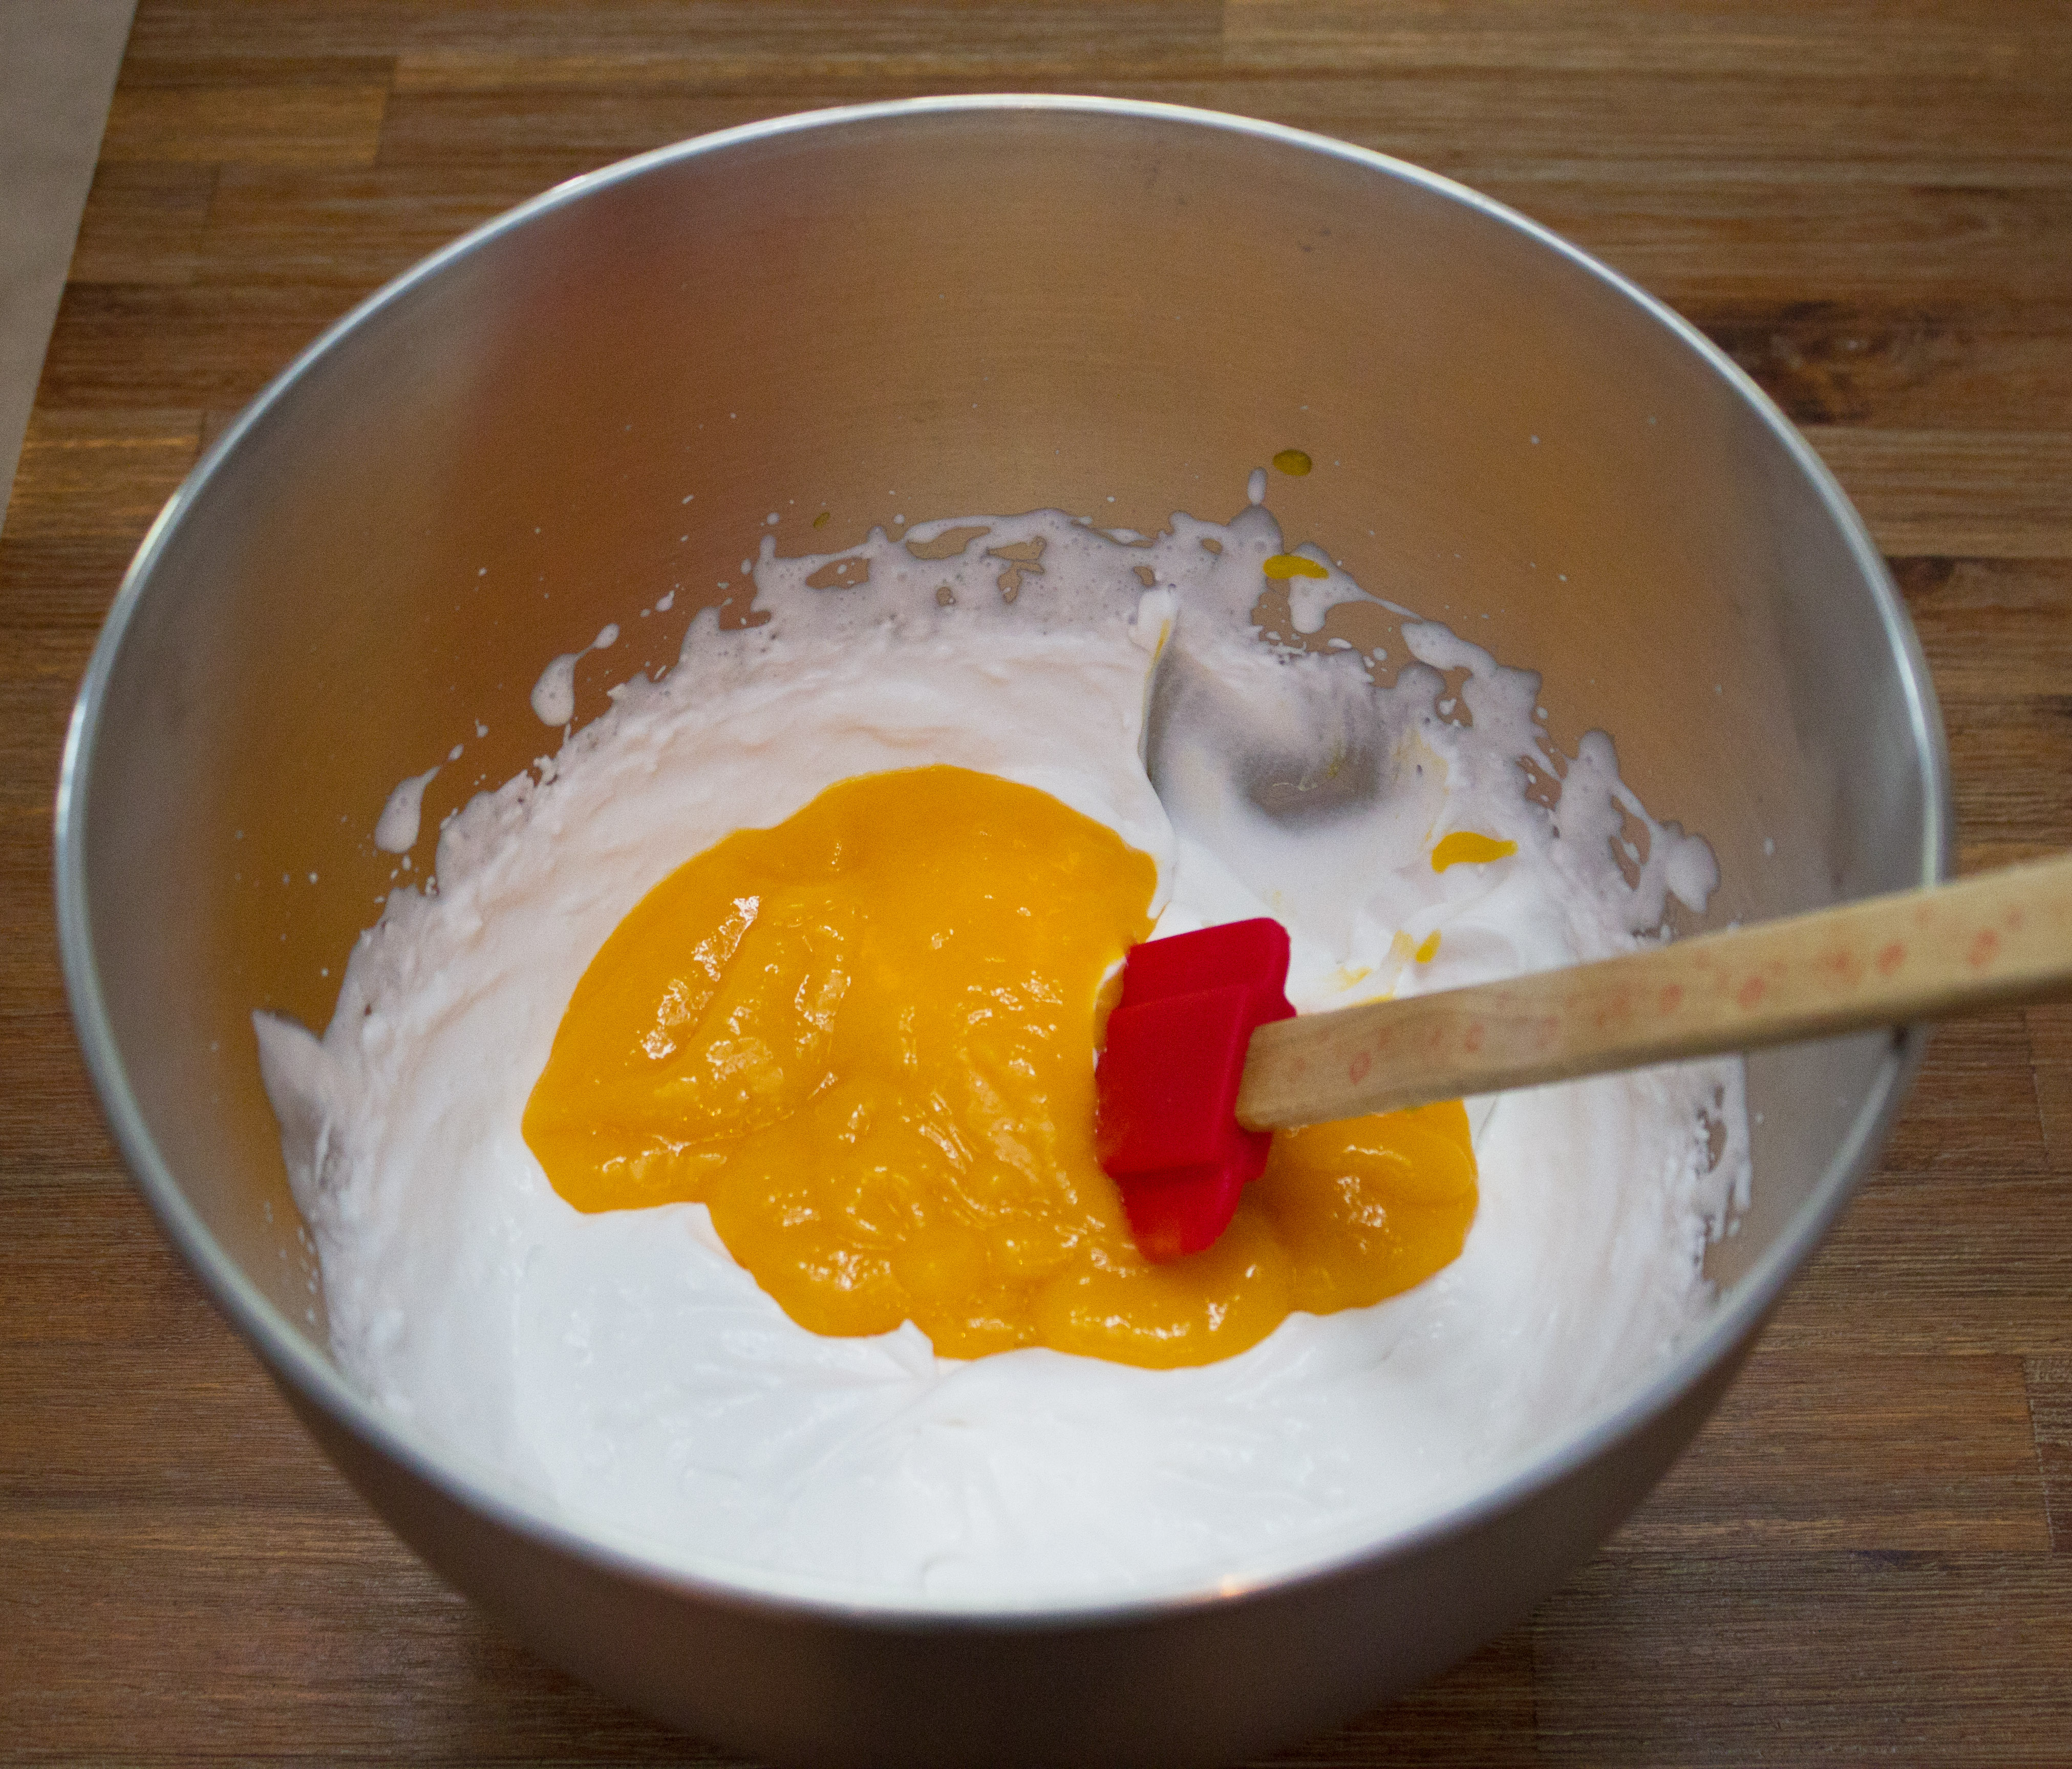
Once you have removed your pie crust from the oven, let it cool for about 20 minutes.  Somewhere in that 20 minutes you can blend up the ingredients for the cream filling.  Starting with the coconut cream, add all of the ingredient for the cream filling to your blender.  Blend together until well combined and you can no longer see pieces of the dates or hazelnuts.

Now you’re ready to pour the mixture for the filling into the pie crust.  After you do that refrigerate it for at least an hour so the cream can set.  Once that’s done, grab a spoon and dig in!


Continue Reading

Mango & Pineapple Parfait (vegan, paleo, & gluten free)

Mango Pinapple Pargait 01


My birthday was last month and the whole family came over for dinner.  I have a rule I follow which states that I do not bake my own birthday cake.  It’s the principle of it really.  It’s my birthday, bring me a cake people!  My mom sweetly volunteered to make my cake, but crazy me just couldn’t not make a dessert of any sort since everyone was coming to our place.  I had to make something!

I also had those who are vegan and lactose intolerant in mind because I was pretty sure that my mother’s lovely cake would contain both.  We had a bunch of mangoes in the fridge and I thought how awesome would mangoes taste with coconut cream?! I started salivating just thinking about it, so I ran to the pantry to grab a can of coconut cream and put it in the freezer for a couple of hours.

When making a batch of coconut whipped cream, I usually refrigerate my coconut cream over night.  It just works better that way, but when in a pinch an hour or two in the freezer is workable too.  I didn’t want to add a lot of sugar, so I made a mango puree in the nutribullet and folded it into the coconut whipped cream.  Just those two things together were amazing!  I could have spooned the whole bowl myself, but sharing is caring so I started putting the dessert together.  While I was at it, I decided to make it paleo and use a tad of coconut sugar to sweeten it.

The pineapple chunks I used were frozen and I thawed them for an hour and gave them a pat with a paper towel before adding them to the bowl.  Now, when I made this for my birthday dinner I had added white nectarines as the bottom layer of the trifle dish, but the nectarines were deemed unworthy by some of the relatives so I left them out the second time I made the parfait.  I actually enjoyed the nectarines, but pineapples and mangoes do taste pretty perfect together!


Mango Pinapple Parfait 02


Ingredients

3 mangoes

2 cups pineapple chunks (fresh or frozen)

1 12 oz can coconut cream

2 Tbs coconut sugar


Method

Cut two mangoes into little chunks and thaw your pineapple ahead of time if necessary.

Puree one of the mangoes in a bullet, blender, or food processor. Place the mango puree in the fridge.  You would usually just use the cream part of the coconut cream and leave out the water that is left at the bottom of the can, but since this becomes almost mousse like I used all of it. Pour the coconut cream and coconut sugar into the bowl of your mixer.  Mix on medium speed until the cream starts to thicken, then mix on high speed until light and fluffy. About 2 minutes.  Remove the mango puree from the fridge and gently fold it into the coconut whipped cream.

Now you can assemble your parfait starting with the mangoes.  Whether you’re layering it in one big bowl or placing the mango pineapple parfait into individual bowls start with the mangoes.  Then add a layer of the mango coconut cream, a layer of pineapples, another layer of coconut cream, and top it with mango pieces.

Place it in the fridge for at least 30 minutes before serving.

If by chance you end up with leftovers, pour it into popsicle molds and freeze for 3 hours or more.  The chunks of fruit and coconut cream made delish popsicles!

Mango Pinapple Parfait

Continue Reading

One Bowl Paleo Brownies (gluten free & paleo)

One Bowl Paleo Brownies

Last week was a little rough in the emotional department.  I’ll spare you the sappy details but lets say that it warranted some chocolate therapy.  There’s a cupcake shop not far from me that makes a red velvet GF cupcake.  The thought of running over there and picking up a cupcake kept crossing my mind!  Then I thought about all the sugar and frosting, and it made me change my mind.

I made a lifestyle change a few months back, and I’ve had sugar maybe 3 times since.  Honey, maple syrup, and coconut sugar are okay, but that’s about it.  My taste buds have adjusted and even if I try a little bite of a cupcake or macaroon, I can’t have more than just the one bite.  They have become a little too sweet for me.

My sister made paleo brownies a few days before my need for chocolaty goodness, so I asked her for the recipe she used.  Her recipe called for a lot of almond butter which I was almost out of.  I always have extra jars of almond butter in the pantry, but of course the one time that I am in need of oooey goooey fabulous brownies, I’m almost out!  Oh well, off to Pinterest I went to look up a few recipes for paleo brownies and whipped up a batch with ingredients I had on hand.

The first batch wasn’t quite fudgy enough, like a brownie should be.  The texture was more like that of a cake.  So I added the little almond butter I had left to the second batch and BINGO!  Moist and rich paleo brownies at your service!  I added walnuts for fun and loved it, but that’s a completely optional ingredient.

One Bowl Paleo Brownies 01

Ingredients

1/2 cup ghee or coconut oil

1/4 cup maple syrup

1 tsp vanilla extract

2 eggs

3 Tbs almond butter

1 cup almond flour

1/2 cup cocoa powder

1/4 tsp baking soda

pinch of salt

1/2 cup chopped walnuts (optional)


Method

Grease a 7×11 or 8×8 baking dish.  I used a 7×11 pyrex.  Preheat oven to 350*F.

In the bowl of your mixer cream together the ghee, maple syrup, and vanilla extract.  Add eggs one at a time and almond butter and blend well.  Add the dry ingredients and mix just until blended.  Try not to over mix.  If your are adding walnuts stir those in with a rubber spatula.

Poor mixture into pan and pop it into the oven for 25 to 30 minutes.  The top should be a little flakey and the center should be fairly firm and spongy.


Continue Reading

Coconut Mocha Cream Pops (paleo, vegan, & gluten free)

Coconut Mocha Cream Pops

Summer days are here again, and there is nothing better than an ice cold treat on a hot summer day!  My girls have been enjoying their ice cream while I just stare and drool.  Now let me explain why I’m not eating spoonfuls of ice cream and sharing in the brain freezes with them. My doctor told me a few months ago that I need to intake more protein and that my cholesterol was a tad high.

That caught me off guard, since I don’t really eat anything high in fat.  Well, other than cheese.  I’m basically a mouse, so I decided that must be what’s causing it.  I have stopped eating cheese for the most part as apposed to having it on top of everything I eat, and cut out other dairy items that are high in fat.  My last test results showed a much lower level of bad cholesterol or LDL.

I love ice cream though, always have.  In my college days I would order dessert before I had dinner just to make sure that I had room for it.  I know, it was a problem.  I realized years later that my body was probably not very happy with me. Growing up in a house where you hardly ever found anything artificial or super sweet, it wasn’t that difficult for me to return to the old ways.  It has taken some inner strength to not give in to ice cream though!   I’ll have a spoon now and then but nothing crazy!

Luckily I recently discovered banana ice cream, which we like to call “nana cream”.  That has saved me from attacking a tub of ice cream more than once!  I really wanted something a little different a few weeks back, something coffee flavored and creamy.  I know, that’s a very specific craving, but I wanted it!  I was pondering how to make such a thing, and then I remembered the Donut House Coconut Mocha Kcups that my bestie got me hooked on last summer.  There is always coconut cream in my cabinet, so I grabbed it and in the blender it went.

I added some cocoa powder, instant coffee, vanilla extract, and sweetened it with coconut sugar.  I don’t like my coffee that sweet so go ahead and add more sugar if you need to.  I had to blend it and taste it a couple of times before the mixture seemed right, but 4 hours later I had these Coconut Mocha Cream Pops.  Needless to say, I was very happy!  They taste exactly like the Coconut Mocha Kcups! There’s a couple in my freezer at the moment actually.  I may just have to bust one out a little later!

Coconut Mocha Cream Pops 02


Ingredients

13oz can coconut cream

1 tsp cocoa powder

3 1/2 tsp instant coffee

1 Tbs coconut sugar

1/2 tsp vanilla extract


Method

Place all ingredients into a blender or food processor.  I used my Nutribullet since it’s always on my kitchen counter.  Blend it all up until it is completely mixed together then poor the mixture into popsicle molds.  It should fill 5 or 6 regular size popsicle molds.  I only had four, so I poured the rest of the mixture into silicone ice cube molds.  That worked out really well too.  Pop them into the freezer for 4 hours or more, and you have yourself a super tasty cool summer treat!


Continue Reading

Chocolate Hazelnut Bites (vegan, paleo, & gluten Free)

Chocolate Hazelnut Bites 01

The first time I tasted Nutella, I was a kid at my aunt’s house.  Some relatives had smuggled some over from Germany and I thought it was the greatest thing ever created!  Now that I’m sort of grown, I don’t really appreciate all of the sugar and unnecessary ingredients.  I occasionally get the Justin’s brand which is on the healthier side and you can actually see the little pieces of hazelnuts in it.

I wanted something sweet the other day, and suddenly started craving Nutella.  Since that’s not happening, I mixed a little cashew butter, honey, and cocoa powder together for a quick fix.  Then it hit me, chocolate hazelnut bites!  How amazing would those flavors taste with some hazelnuts mixed in?  That’s exactly what they are; amazing! These chocolate hazelnut bites taste like a wholesome version of Nutella without all of the sugar.

I realize that I caught the late train with this whole “Bite” idea, but now that I’ve discovered them, the possibilities are endless!  I’m pondering something with cashews and cardamom for the next batch.


Ingredients

1 cup cashews

1/3 cup hazelnuts

1 Tbs cashew butter

1 tsp honey

3 Tbs cocoa powder


Method

Place all of the ingredients in a food processor and blend until it becomes like a mold-able paste.  Roll into round bites and place on parchment paper.  I sprinkled them with a little cocoa powder and crushed hazelnuts, but it’s not necessary.  They are perfectly delightful just as they are.  You can also refrigerate them if you prefer them cold, but they kept well in an airtight container on the kitchen counter as well.


Continue Reading

Chocolate Cake

Gluten Free Chocolate Cake 02

I have been making birthday cakes for everyone in the family for years.  Mostly because they feel guilty if I can’t eat it!  I really do enjoy it though.  It’s therapeutic in a way.  At first I would decorate the cakes with good old fashioned frosting, but then you see all of these gorgeous fondant cakes and my artwork didn’t seem so appealing anymore.

When my younger daughter was about one year old I took a series of cake decorating classes.  I had all these bright eyed ideas about opening up a gluten free bakery and selling my pretty cakes and cupcakes.  A few events and many cake-pops later, I realized that being up all night baking was not something I wanted to do full time.  It is a lot of work for one person, and at the time it just didn’t make sense for me.

That being said, the only time you’ll find me up to my elbows in fondant nowadays is for my daughters’ birthdays or if someone puts in a special request.  This weekend I’m making a cake for an old friend’s baby shower.  She’s basically family and she is on a gluten free diet.  I gladly accepted her request for chocolate cake, but wanted to play with a new recipe.  Who can say no to a pregnant lady who hasn’t had good cake in forever?! That should fall under cruel and unusual punishment if you ask me.

For any other cake, I would use my flourless chocolate cake recipe, but it’s not the best in a layer cake.  The recipe below however is perfect for a layer cake!  Crumbly and moist, not too sweet with just the right amount of chocolate.  I made one 8 inch cake and a tray of mini cupcakes just to test it out and both were great!  I also tried a recipe for stabilized whipped cream that I found on Pinterest.  The result of both put together was these fancy mini cakes.  Absolutely delish!

The little mama to be was thrilled with how the final cake turned out and the fact that she got to eat it too!  The theme of the baby shower was blue elephants carrying an umbrella, and the host and I decided that there should be one on the cake.  The little elephant is my favorite part and the cake was not only adorable on the outside, but I am happy to say that the cake on the inside received rave reviews!  I’ve included a picture of the cake at the end of this post, so you can see what I’m talking about.  The smaller cake on top was made with the Funfetti Cupcake recipe from Minimalist Baker (minus the sprinkles) and filled with strawberries and whipped cream.  The larger cake was my gluten free chocolate cake recipe with raspberry cream cheese filling.  Well fondant, I bid you adieu until our next adventure!


Gluten Free Chocolate Cake


Ingredients

1 2/3 cups all purpose GF flour (Cup4Cup worked nicely)

1 cup unsweetened cocoa powder

1 cup lightly packed organic brown sugar

1/4 cup organic cane sugar

1 tsp baking powder

1 tsp baking soda

3/4 tsp xanthum gum

1/2 tsp salt

1 cup hot water

3/4 cup vegetable oil

1/2 cup light sour cream

3 eggs


Method

Grease two 8 inch cake pans and line with parchment paper.  Grease the parchment paper as well.  Preheat oven to 325* F.

In a large mixing bowl, whisk together the dry ingredients.  In a small mixing bowl, whisk the eggs and then add the sour cream.  Mix the sour cream and eggs together until nicely blended.  Add the hot water and oil to the dry mixture and blend fold together with a rubber spatula.

Add the egg and sour cream mixture into the large mixing bowl and whisk together by hand until just combined.  No need to bust out the Kitchenaid this time!  Pour into prepared cake or cupcake pans and bake until your toothpick comes out clear.  That’s about 35 minutes for an 8 inch cake.  Top with your favorite frosting or have a nice slice with some coffee as is.  They freeze well too if you want to save some for later!


Baby Shower Elephant Cake copy


Continue Reading

Almond Cinnamon Bites (vegan, paleo, & gluten free)

Cinnamon Almond Bites
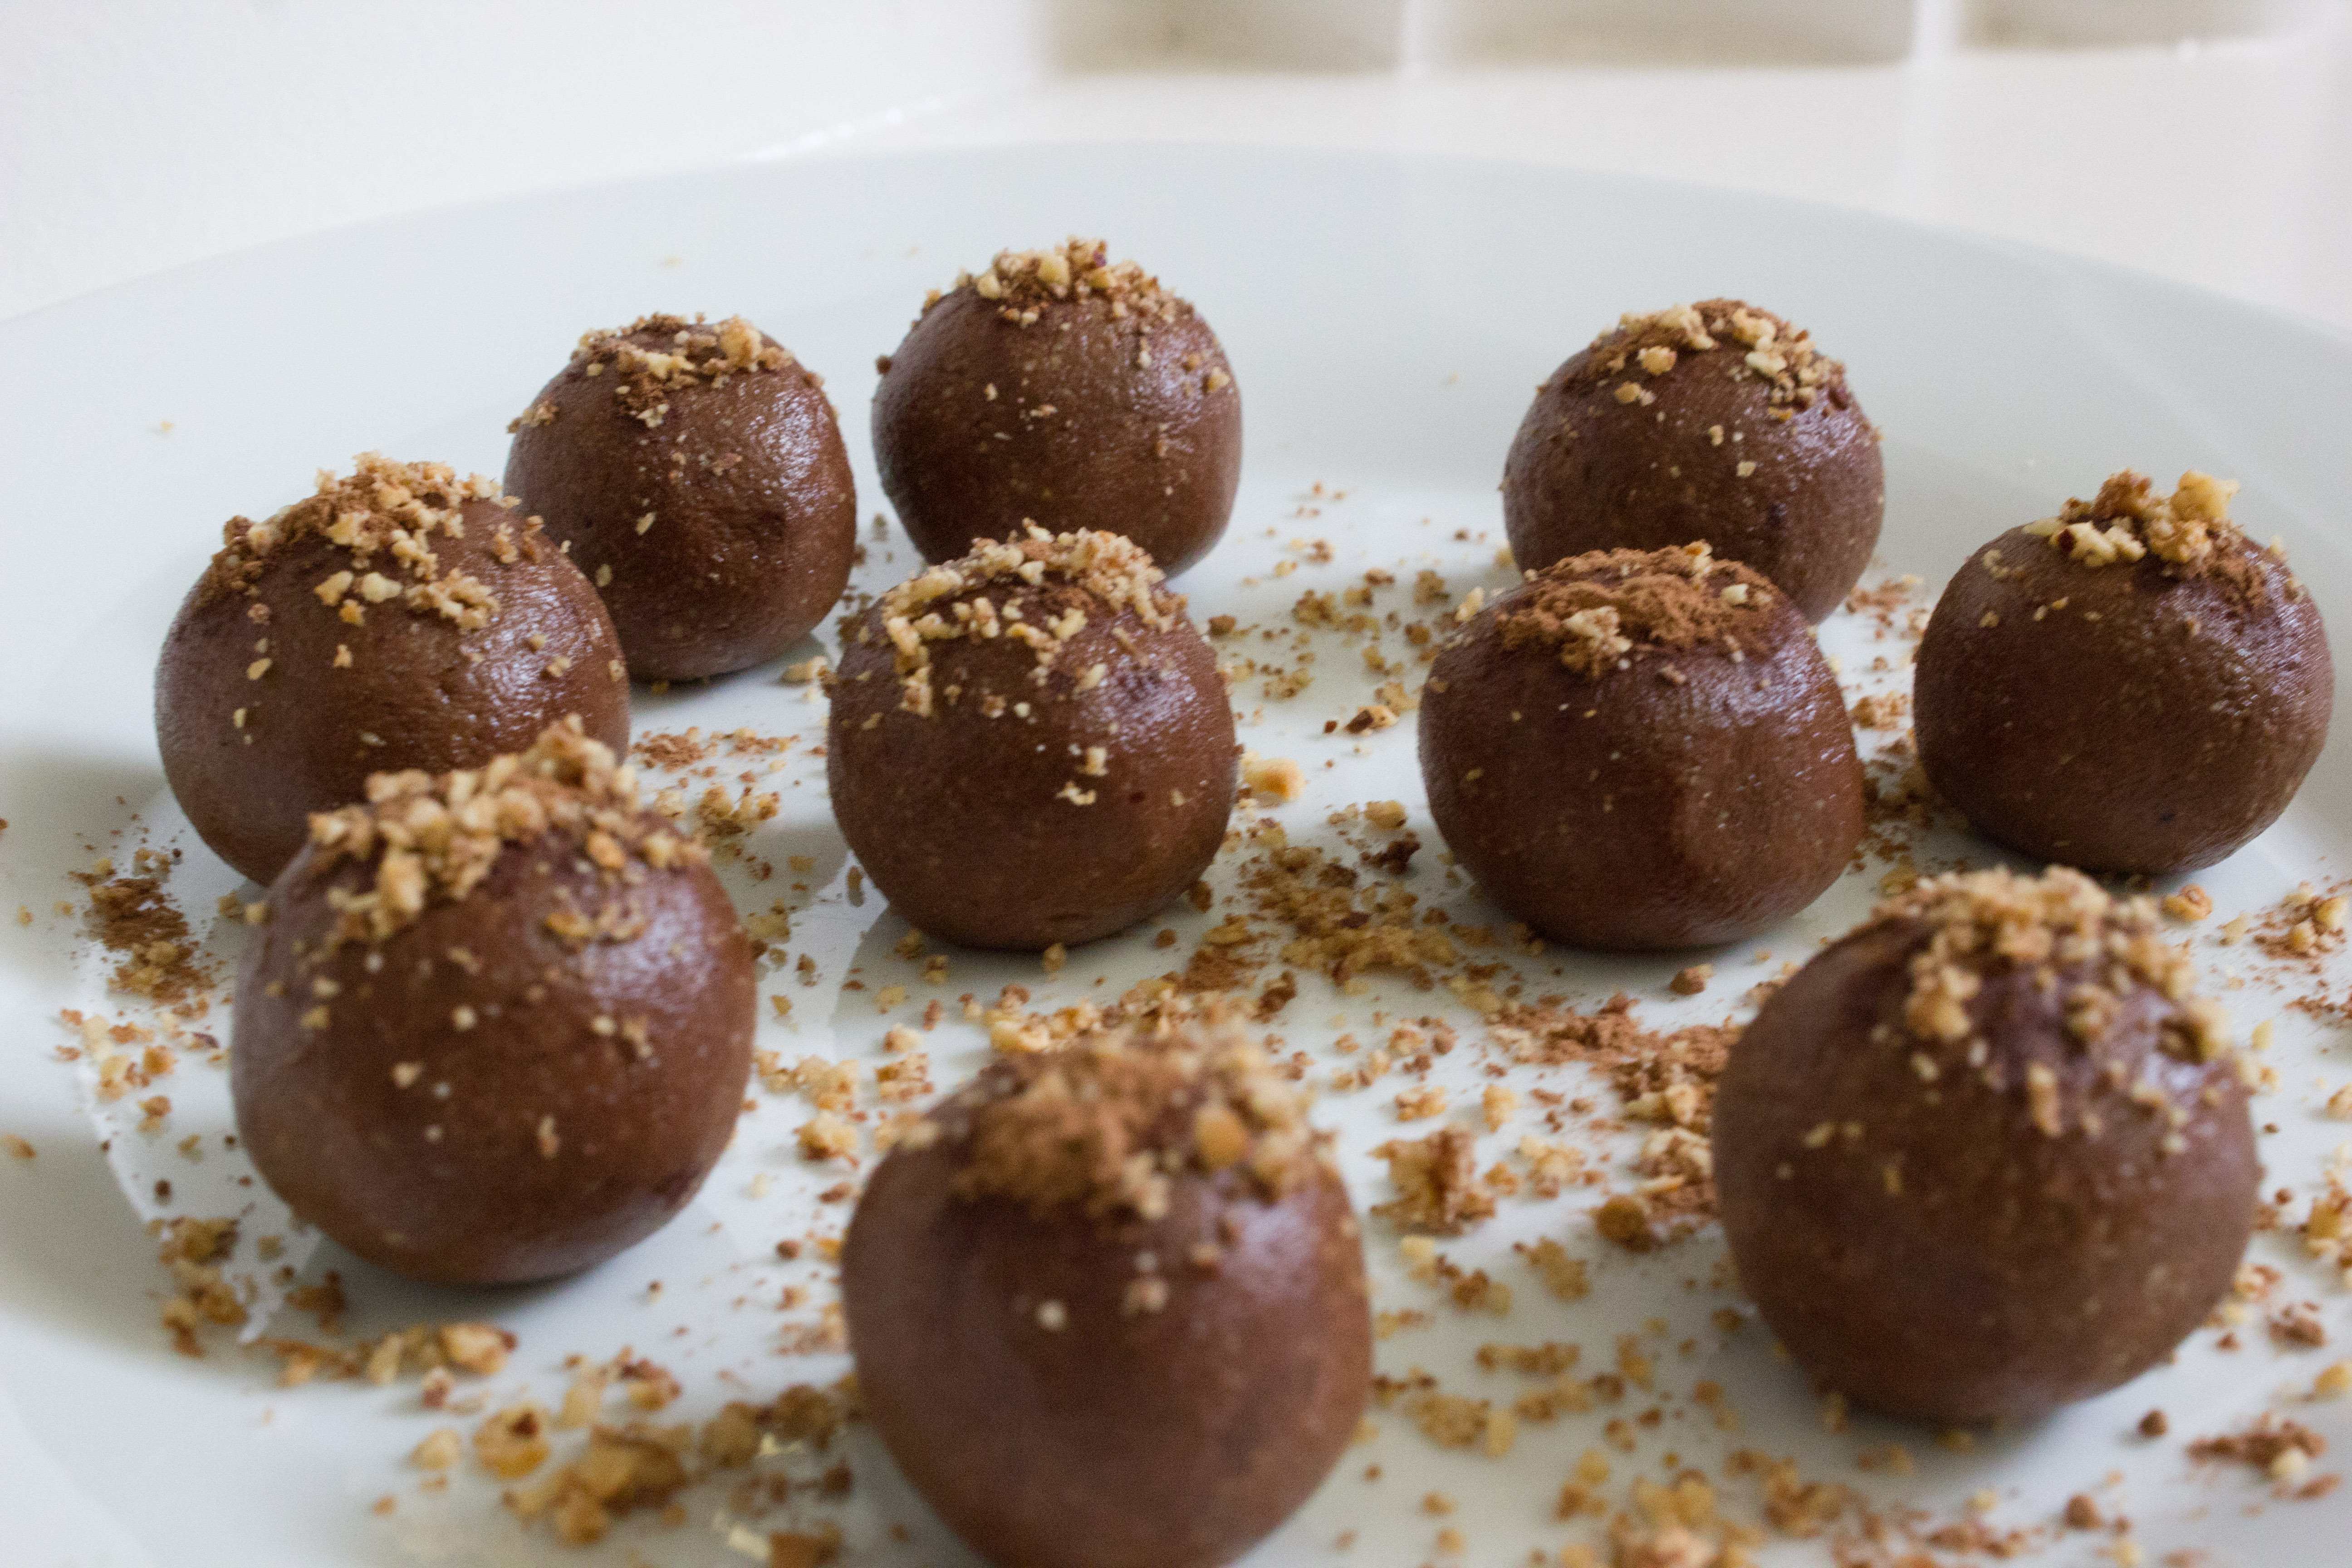
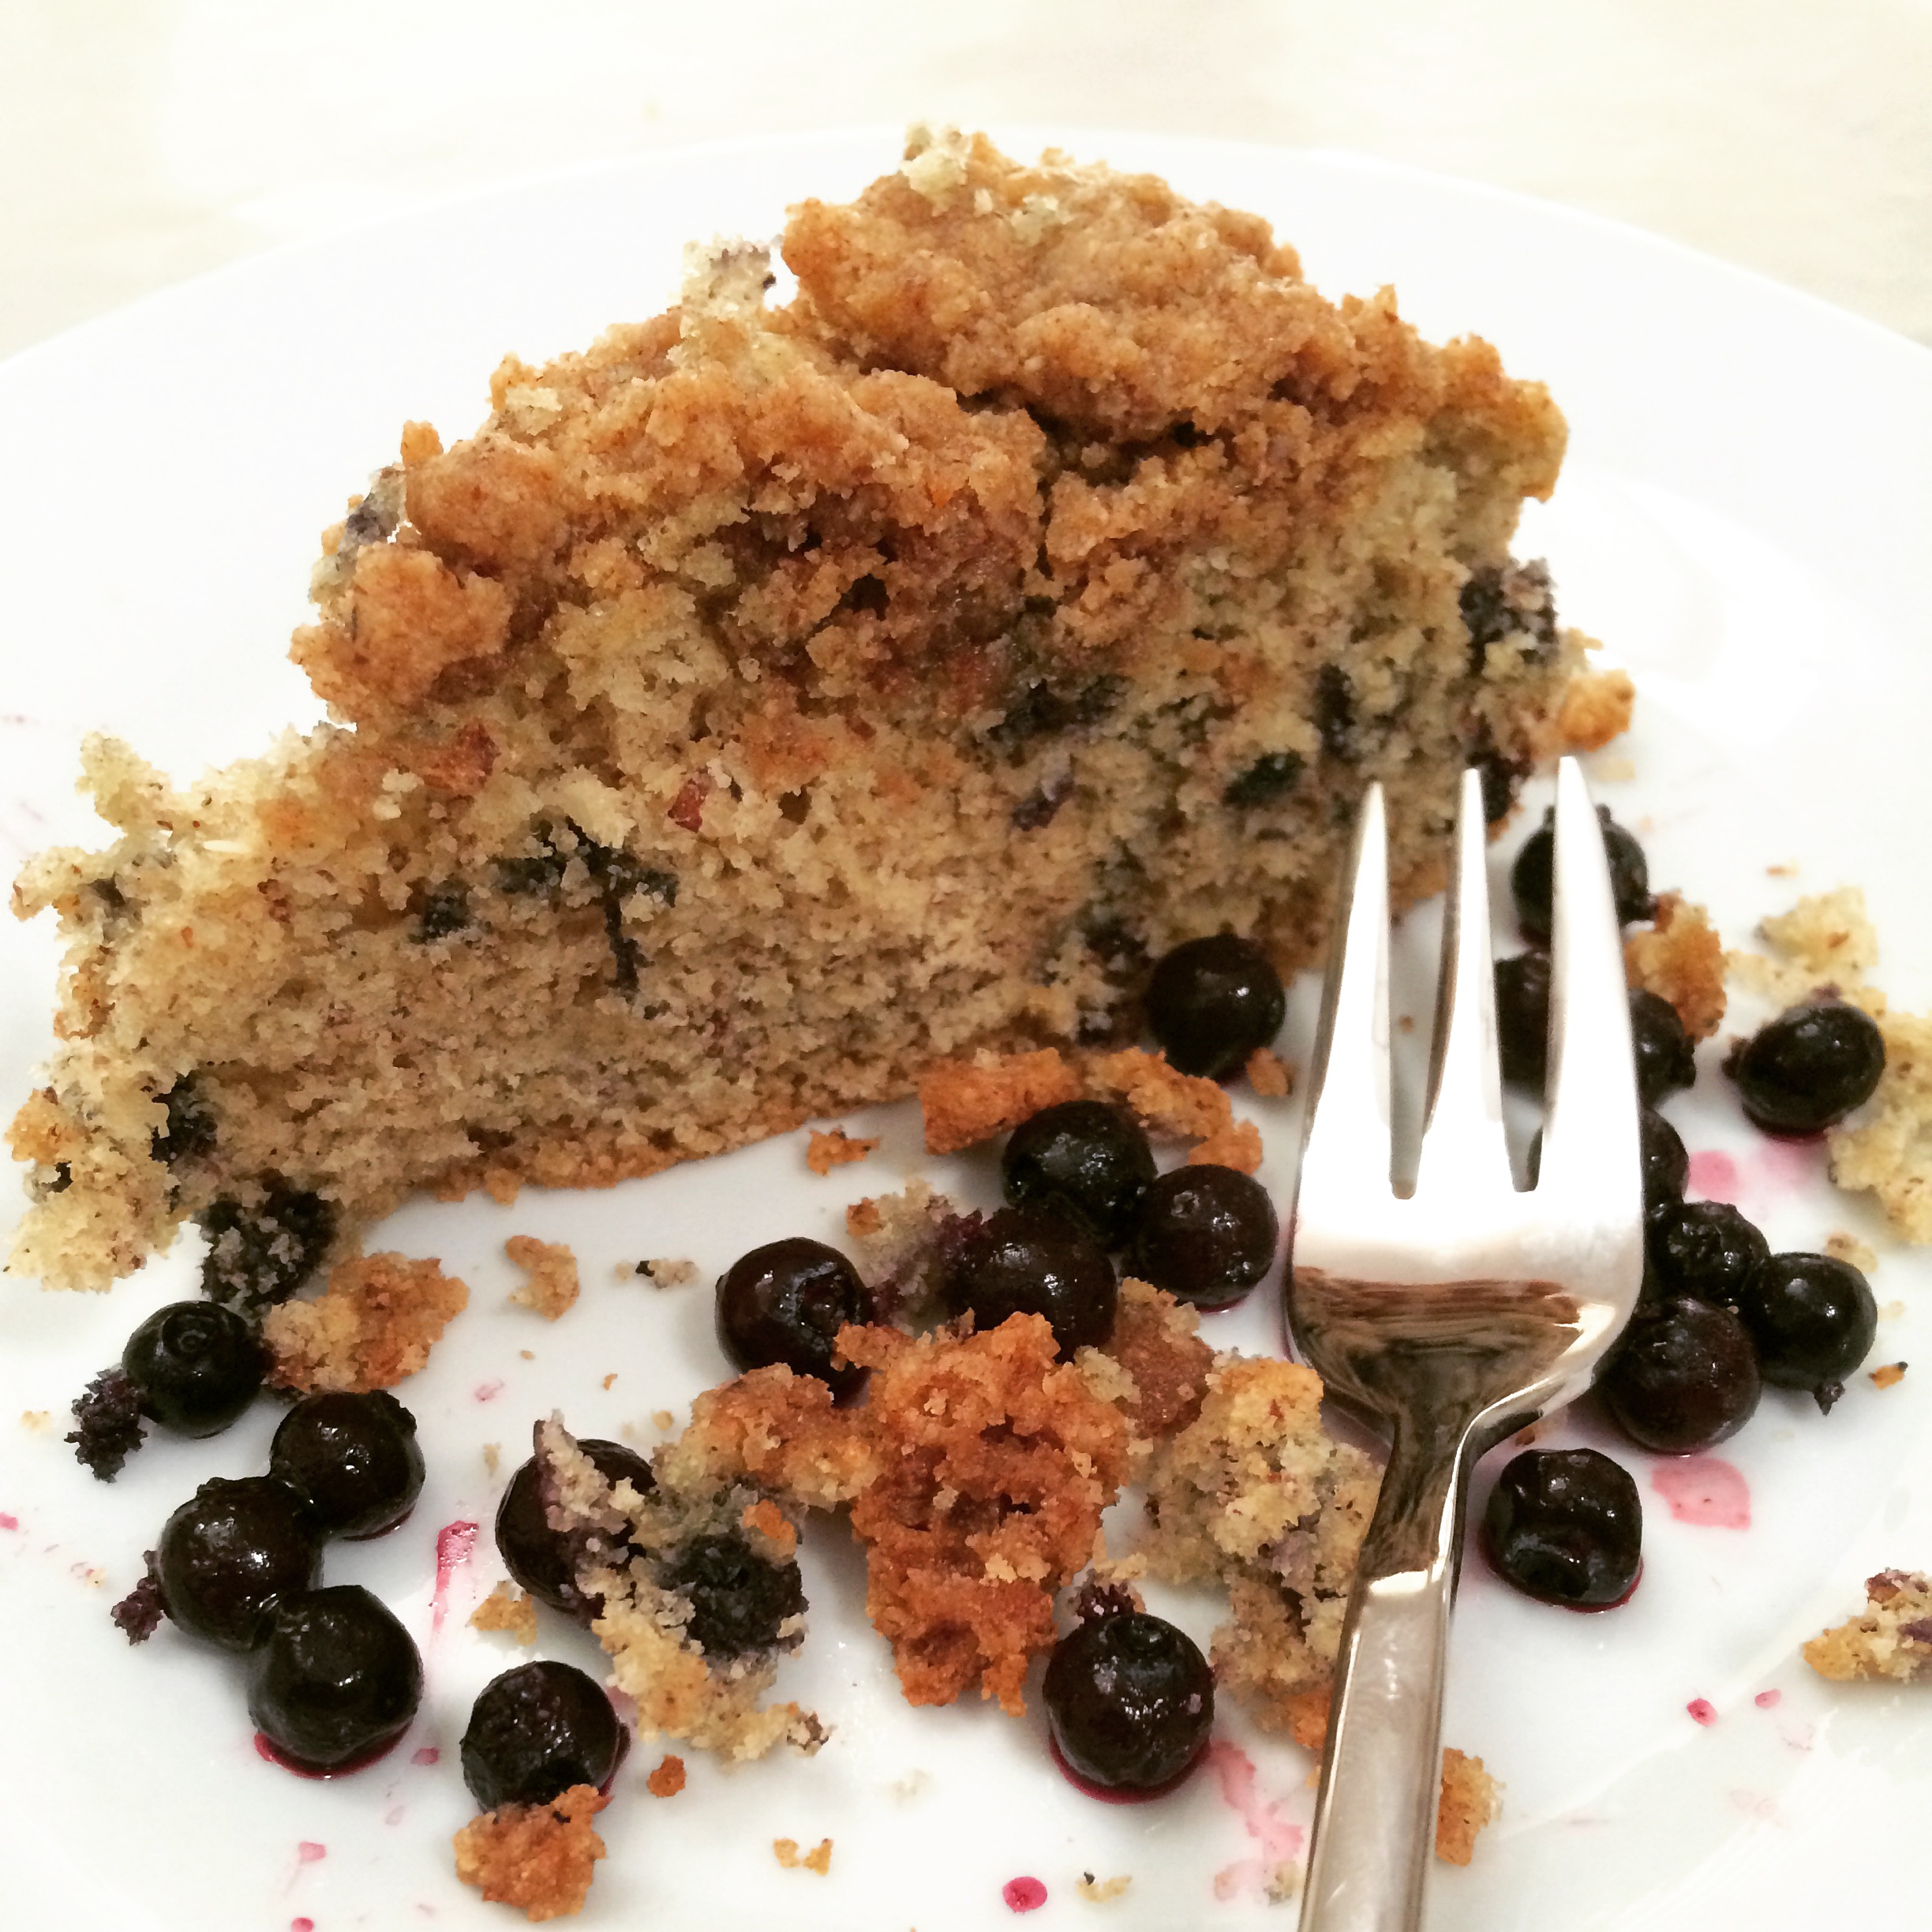
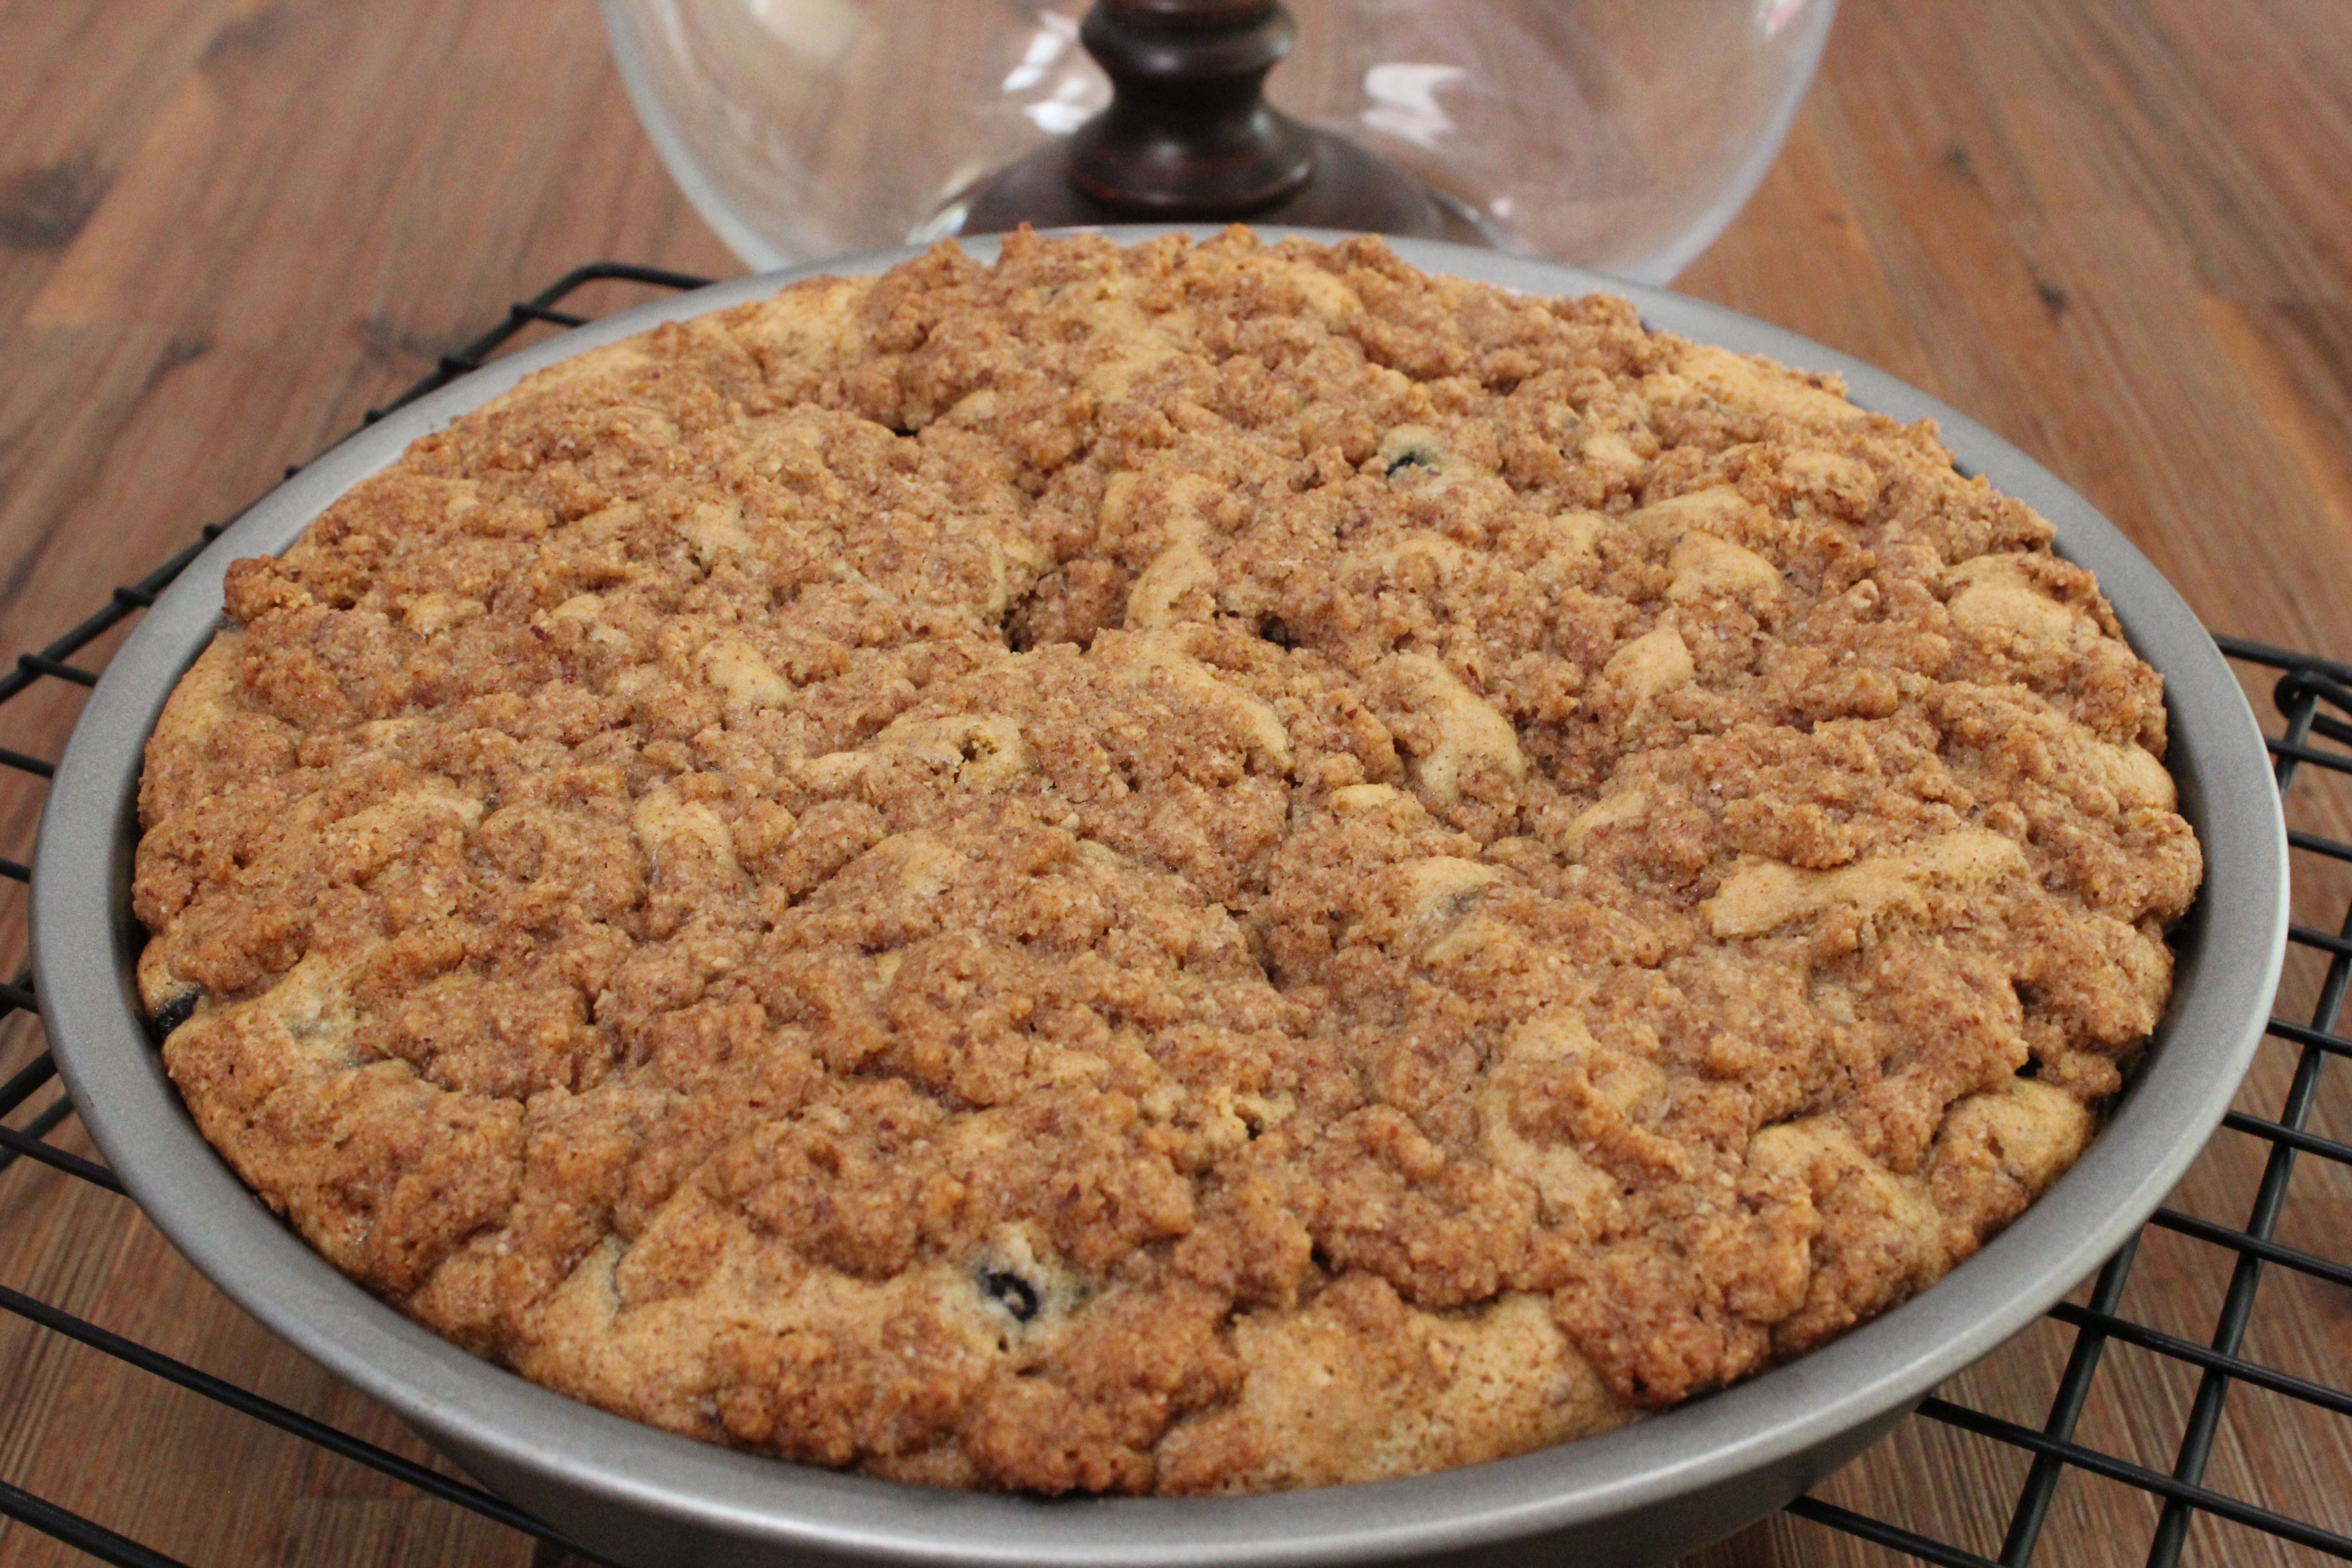
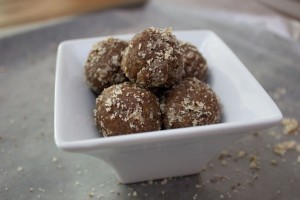
A couple of weeks ago I posted the recipe for a blueberry coffee cake.  When I made the cake, my girls literally spooned the extra crumb topping out of the bowl!   It consisted of mostly almond meal  and I’ve been seeing these little protein and no-bake bites all over the place, so I figured why not try and re-create the taste of the crumb topping in a little round bite?  And it worked!  My daughters gobbled them up and when I told them that the bites were actually good for them, they didn’t believe me!

Cinnamon has such a delightful flavor, and with the dates there is no need for sugar!  Feel free to double or triple the recipe, because they went pretty fast.  I’m excited to experiment with this whole bite idea now.  It’s brilliant really.  They are quick, easy, don’t need to be baked, and healthy too.  That’s just crazy business!


Ingredients

1 cup almond meal

1 tsp vanilla extract

1/2 cup pitted dates

1 tsp ground cinnamon


Method

Place all ingredients in a food processor and blend until all ingredients are well blended.  Take small amounts out at a time, mash together in your hand, and roll into a ball.  Continue until all of the mixture has been rolled up.  Place in the refrigerator for 15 minutes or so to let them set.  I rolled them around in a little almond meal for beauty’s sake, but they taste the same with or without! Almond Cinnamon Bites are delicious!

Cinnamon Almond Bites 02

Continue Reading

Blueberry Almond Coffee Cake

Blueberry Almond Coffee CakeI have been craving coffee cake like crazy.  I can’t even remember the last time I had some.  Now that I think about it, I really just wanted that crunchy,cinnamony, sugary stuff that goes on top of a coffee cake.  You know, the little crumbles that kind of melt in your mouth but have this amazing texture.  Yup that’s the stuff!

A couple of days ago I decided it was coffee cake time! I was trying to think of a way to make it a little healthier and decided to incorporate some almond meal.  The blueberries give the cake some added moisture and flavor, and the cinnamon in the topping totally hit the spot.  The kids couldn’t wait for me to take it out of the oven!  It was really cute, they were just hanging out in the kitchen and asking if it was ready.

I let it cool for about 30 minutes and then it was like half the cake disappeared.  I was responsible for two slices and I don’t even feel bad about it.  The cake itself is dairy free, but there is a little butter in the crumb topping.  You can easily replace the butter with some margarine or a vegan alternative.


Ingredients

2 eggs

1/2 cup organic cane sugar

1/4 cup vegetable oil

2 tsp vanilla extract

1 cup gf flour

2/3 cup almond meal

1/2 tsp baking soda

1tsp baking powder

1/2 tsp xanthan gum

pinch of salt

1 cup thawed wild blueberries


For the Topping

1/2 cup almond meal

1/4 cup Gf flour

2 tsp cinnamon

1/2 cup brown sugar

1/4 cup butter (half a stick)


Method

Preheat oven to 350* F.  Grease a 8 or 9 inch springform pan and line the bottom with parchment paper. Grease the parchment paper as well.  I actually didn’t use a springform pan, but I definitely will next time.  It was a little difficult to get the cake out of the pan without the topping coming apart ,so I highly recommend a springform pan.

In a small mixing bowl, mix together the almond meal, gf flour, xantham gum, baking soda, baking powder, and salt.  In the bowl of your mixer beat eggs and sugar together on medium speed until it starts to foam up a bit.  Add in oil and vanilla continuing to beat on medium speed, then add in the flour mixture one cup at a time until completely combined.  Fold in the thawed blueberries and pour into prepared pan.

Put all of the ingredients for the cake topping in a small bowl and mix together with a fork or clean hands.  Sprinkle the topping over the cake batter and bake for about 30 min.  Allow it to cool for another 25 to 30 minutes and it’s all yours!

photo (1)


Continue Reading

Cardamom & Saffron Cake

Cardamom Saffron Cake 01For many the beginning of Spring means Easter eggs and flowers, or later sunsets.  For me it means these things too, but mostly it means sweet Persian cookies, getting ready for the new year, cooking with my family, and carrying on old traditions.  The first day of Spring is also Persian New Year, or Nowrooz (no-rooz).  In our house Nowrooz is right up there with Christmas!

The week before Nowrooz is spent preparing a traditional spread of symbolic items and spring cleaning of course.  Sweets also play a big part because we believe that if you start the New Year off sweet then the rest of the year will be sweet as well.  Who knows if that’s the case or not, but I’m not about to argue a tradition that says you need to have trays of sweets in your house!  Especially since many Persian cookies are made with rice flour or ground nuts, so they are gluten free without having to change anything.

This year we all got together at my cousin’s place and I wanted to take something a little different.  She asked me to bring dessert, but I knew she would already have all of the usual suspects on hand.  In my search for a cake with some eastern flavors, I came across something called a Persian Love Cake.  There are rumors as to why it’s called that but with flavors like cardamom, saffron, and rose water I’m in love already!

Of course the recipe needed to be tweaked a bit to make it gluten free.  I changed up the whipped cream filling as well, using cane sugar in the place of powdered sugar so it wasn’t really a frosting.  The result was amazing!  It reminded me a lot of a Victoria Cream Cake.  The cake was spongy and delicate and the flavor of the whipped cream was beyond heavenly.

It received great reviews from the family, and I will definitely be making this again soon!


Ingredients

1 cup, less 2 Tbs GF flour

2 Tbs potato starch

1/2 cup organic cane sugar

1/4 tsp xanthan gum

1/4 tsp salt

1 1/2 tsp baking powder

1/4 tsp cardamom seeds

3 eggs, seperated

2 tsp vanilla

1/4 cup vegetable oil

6 Tbs water


Saffron Whipped cream

16 oz heavy whipping cream

3 or 4 strands saffron

1 Tbs rose water

1/4 cup organic cane sugar


Method

Preheat oven to 325* F.  Grease two 8 inch cake pans and line the bottom with parchment paper.  Grease the parchment paper as well.

In a small mixing bowl whisk egg yolks, vanilla, cardamom seeds, and water together.  Take a 1 cup measuring scoop and place 2 Tbs potato starch in the cup.  Fill the rest of the cup with all purpose GF flour to make one full cup.  In a large mixing bowl blend that 1 cup of flour with the baking powder, xanthan gum, salt, and 1/4 cup sugar.  Add in whisked egg yolk mixture and mix together.

In the bowl of your mixer beat egg whites until soft peaks form.  Slowly add 1/4 cup sugar to the egg whites, continuing to beat them at high speed.  It should get really fluffy after a few minutes.  Then gently fold the egg whites into the flour mixture.  Once its all combined, pour half into one prepared pan and the rest into the other.  Bake for about 25 minutes.  When ready, place pans on cooking rack and allow to cool for 20 minutes.  Then wrap in plastic wrap and keep in fridge or at room temperature.  I assembled my cake the same day, but you can definitely make it ahead and assemble the next day.

For the whipped cream, pour half a cup into a small saucepan with 3 to 4 strands of saffron.  Make sure to put the rest of the whipping cream back into the fridge.  I usually ground all of my saffron for cooking so I used the smallest pinch.  Saffron is pretty potent stuff!  Heat on low to medium heat just until it starts to simmer.  Remove from heat and let sit for about 20 minutes then refrigerate until cold.  When the saffron whipped cream mix is ready, whip the remainder of the whipping cream and the rose water in a mixer at high speed, adding in the sugar and continuing to whip until it’s light and fluffy.  Strain in the saffron whipping cream and whisk on high speed just until blended.  If you used ground saffron, there’s no need to strain it.

Place one cake layer in a serving plate, flat side down.  Spread about 3/4 of the whipped cream on top of the first cake layer.  Put the second layer of cake on top of the whipped cream, flat side up.  This helps the cake look more even.  Spread the rest of the whipped cream over the top of the cake and sprinkle some slivered pistachios on top.  After having this cardamom saffron cake, I think berries or cherries would make a great topping as well.  Pour yourself a nice cup of tea and enjoy!


Continue Reading

Red Velvet Cake

Red Velvet Cake 02Every so often I get a craving for a Sprinkles red velvet cake with all that fluffy cream cheese frosting!  Sprinkles isn’t exactly around the corner and if they figured it out, then I knew there was hope!

My first attempt was for my sister-in-law’s birthday a couple of years ago.  The texture was great, but it had that gluten free taste to it.  I wasn’t completely satisfied so I tried again, and again, and again!  I was also trying to cut out some of the red food coloring, but it just ends up looking more like pink velvet instead of a red velvet.

The frosting is a basic cream cheese frosting recipe.  We’re all for sweets around here, just not too sweet, so I usually don’t add more powdered sugar to my frosting than needed for flavor. This time I used organic cane sugar, and it actually turned out great.


Ingredients

1 1/3 cup all purpose GF flour

3 Tbs cocoa powder

1 tsp baking soda

1/2 tsp baking powder

1/2 tsp xanthan gum

3/4 cup vegetable oil

3/4 cup organic cane sugar

2 tsp vanilla

2 eggs

1/2 cup buttermilk

** For dairy free use 1/2 cup almond milk and 1tsp vinegar

1 Tbs red food coloring (I buy the one labeled “no taste”)

pinch of salt


Method

Before you get started be sure to throw on an apron.  Red velvet is amazing, but we’re talking red food coloring!

Preheat oven to 350* F and grease and flour a round nine inch pan.

In one bowl, sift together the four, cocoa powder, baking powder, baking soda, xanthan gum, and a pinch of salt.  In the bowl of your mixer, beat together the eggs and sugar.

In a third bowl or in the measuring cup you used for the oil, add the vanilla and red food coloring to the oil.  Stir together lightly until it’s all mixed in together.

Add the buttermilk to the eggs and sugar in your mixer bowl and blend together on low speed.  Add dry ingredients 1/2 cup at a time.  Pour in oil mixture, and be sure to stay on low speed so it doesn’t splash everywhere.

Pour batter into prepared pan and bake for 25 to 30 min.  You can do the toothpick check, and if it comes out clean then your cake is done.


Cream Cheese Frosting

Ingredients

8 oz Cream Cheese, softened

1/4 cup (1 stick) butter, softened

2 tsp vanilla

2 cups powdered sugar (I used 1/4 cup organic cane sugar)


Method

Blend butter, cream cheese, and vanilla together.  Add powdered sugar.  Fold together with a rubber spatula just two or three times.  This helps blend the powdered sugar a bit so it doesn’t fly all over the kitchen when you’re mixing it in.  Then beat on high until its completely whipped together.  This should only take a few seconds.  Now you’re ready to frost your cake or cupcakes!

Continue Reading